Coils are one of the few parts of a vaping device that need to be replaced over time, so it makes sense that you’ll want to make them last as long as possible. Although coils are very affordable these days, extending their lifespan can save a significant amount of money in the long run.
We talked about extending the life of your coils in a previous post, which you can read here. In this post, we’re talking specifically about cleaning coils, for standard (stock coil) devices and rebuildable atomisers.
Cleaning standard (stock) vape coils
%20vape%20coils-jpg.jpeg)
Image: Zenith II & Z coils
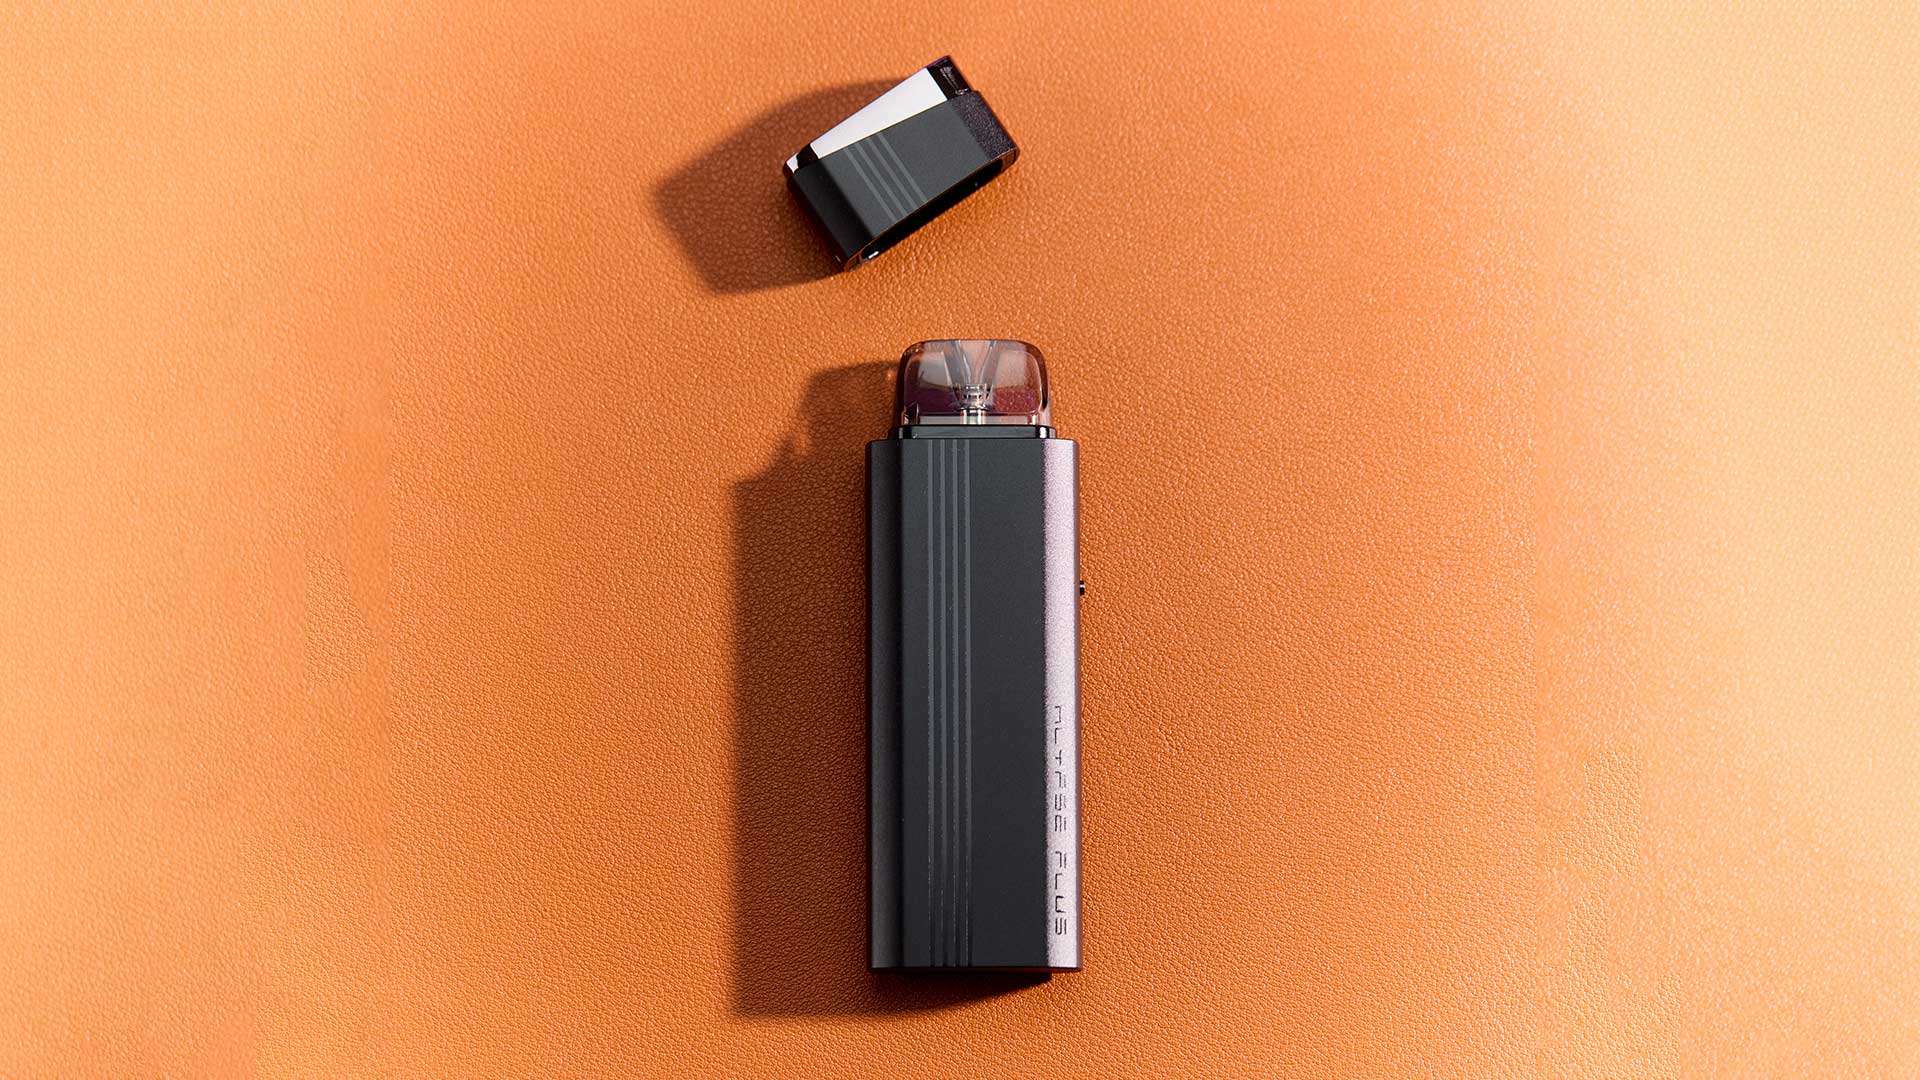
If your device uses standard pre-built coils, like the Innokin Zenith II, then you might have never considered the option of cleaning the coil. Although some of our recent devices, like the Kroma 217 and Coolfire Z80 use ACM technology to extend coil life, eventually the vaping performance will decline.
The burnt flavour and reduced vapour output are caused by the residue that builds up when e-liquid is heated. Although you can’t restore full performance by cleaning the coil, it may help you squeeze an extra few days of life out of it, and that’s always a positive.
💡 How to clean standard vape coils?
- When vaping performance has severely declined, remove the coil from your tank or device.
- Run the coil under hot water for a few seconds. This will help lift some outer layers of residue from the wicking material and coil surface.
- Place the coil in a container and submerge it in boiling water for approximately 30 minutes.
- Allow the coil to completely dry for 24 hours.
Although the cleaned coil won’t perform as well as a brand new one, it will extend the lifespan, saving you money and reducing waste.
Cleaning rebuildable vape coils
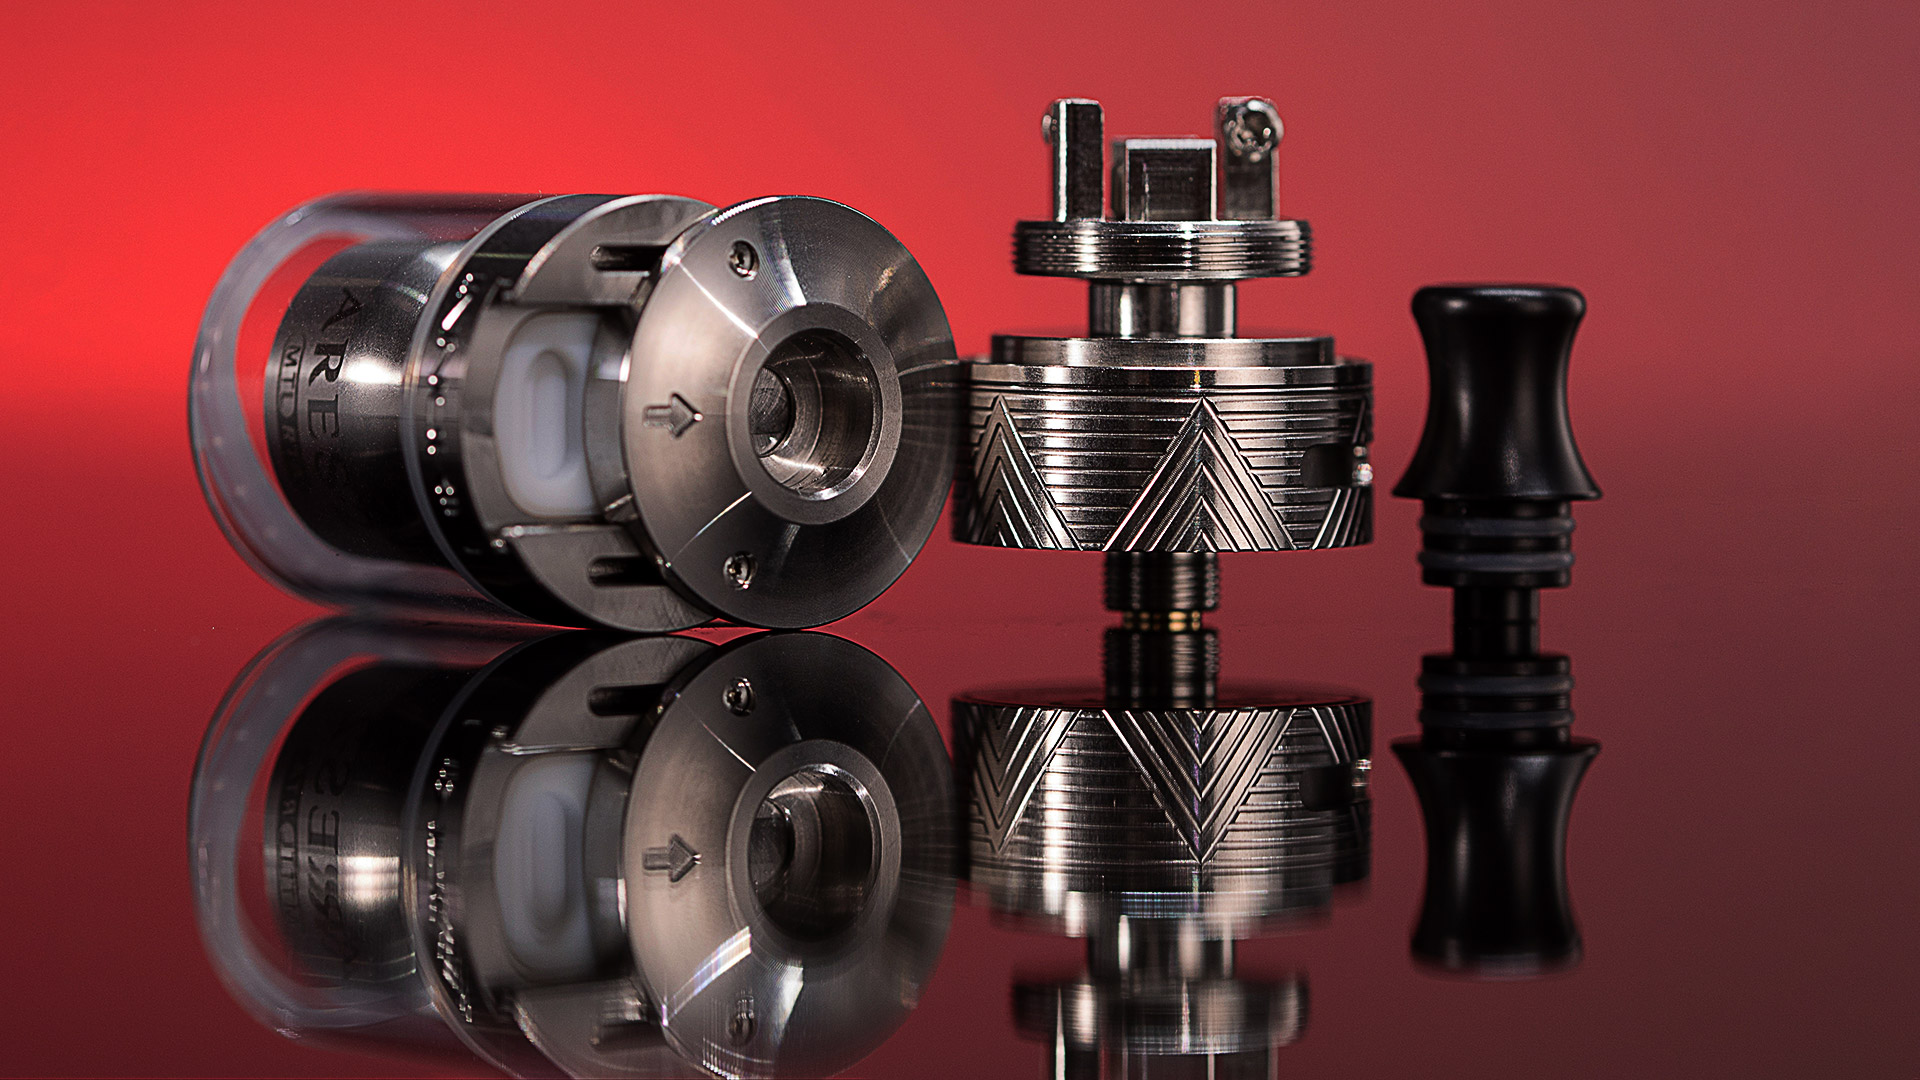
Image: Ares II RTA
Unlike stock coils, the coils in rebuildable atomisers are designed to be cleaned and reused over a long period of time. Since the build deck allows you to remove the wicking material and coil itself, the cleaning process is much more thorough and produces better results.
💡 How to clean rebuildable vape coils?
- When vaping performance has severely declined, remove the atomiser deck from your rebuildable tank or dripper.
- Remove all wicking material from the centre of the coil and wicking channels, but keep the coil installed.
- Run the atomiser deck under hot water for a few seconds.
- Inspect the atomiser deck. If any residue remains, use a damp paper towel and more hot water to remove it.
- allow the atomiser deck to dry.
- Place atomiser deck on a regulated mod, like the Kroma 217.
- Pulse the coil in short bursts at approximately 50% of your vaping wattage, until the coil glows.
- In between pulses, inspect the coil for remaining residue and remove it by gently scraping with tweezers or a small flathead screwdriver.
- When all visible residue has been removed, carefully run the coil under warm water to remove any residue which has fallen from the coil and into the deck.
- Allow the atomiser to completely dry.
Once you have completed these steps, you’re ready to re-wick the coil, prime it and continue vaping at full performance. Since rebuildable atomisers allow you to thoroughly clean the coil, a high-quality coil can last for months with proper maintenance. That’s why tanks like the Ares 2 provide unmatched value for money if you’re willing to learn how to build!