

A few years ago, the idea of creating your own vape juice was an obscure concept, reserved for only the most enthusiastic vapers. Now, with many regions placing restrictions on vaping products, DIY e-juice has become a necessary part of vaping for some smokers who are making the switch.
DIY e-juice opens a whole new world of customisation for vapers. Whether you’re looking for a very specific flavour profile, or just want to save some money, DIY e-juice is a great option. In this post, we are going to cover the basic steps of creating your very first blend.
Base ingredients
Regardless of which flavour profile or nicotine strength you wish to mix, you’ll be starting with the same base ingredients. E-juice is made with a base of Vegetable Glycerine (VG) and Propylene Glycol (PG).
Depending on your desired vapour output, throat hit and vaping device, different proportions of these ingredients need to be used. These base ingredients are very affordable when purchased in bulk, so stock up and find what works best for your style of vaping.
A good starting point is 70:30 VG:PG for direct-to-lung (DL/RDL) vaping, and 50:50 VG:PG for mouth-to-lung (MTL) devices. From here, you can experiment a little. For example, using more VG will increase the volume of vapour and reduce throat hits. If you want a stronger throat hit, lower viscosity and less vapour, increasing the proportion of PG will help you achieve this.
You must always check that your VG and PG are of pharmaceutical grade to ensure that it is of the highest quality. The applicable grade will vary depending on where you live. In the UK, this is denoted by “BP”, in the EU “EP” and in the U.S. “USP”.
Nicotine
Most vapers will want to add nicotine to their blends. If you are a consumer living in the EU or UK, you will have to work with TPD compliant nicotine “shots” of 20mg/ml concentration or lower. Although this restricts the maximum nicotine level of your e-juice, it should be enough for most vapers.
Other regions have their own rules on liquid nicotine, so make sure you follow local laws and always purchase nicotine from a reputable vendor, who can provide documentation on the quality and origin of their product.
Whether you’re using TPD compliant nicotine shots, or a higher concentration of nicotine, it’s extremely important to accurately measure the correct amount of nicotine for your e-juice. We will cover this in the next section. If you are unsure which type of nicotine and which nicotine strength will be suitable for your needs, check out this blog post, which covers the subject in depth.
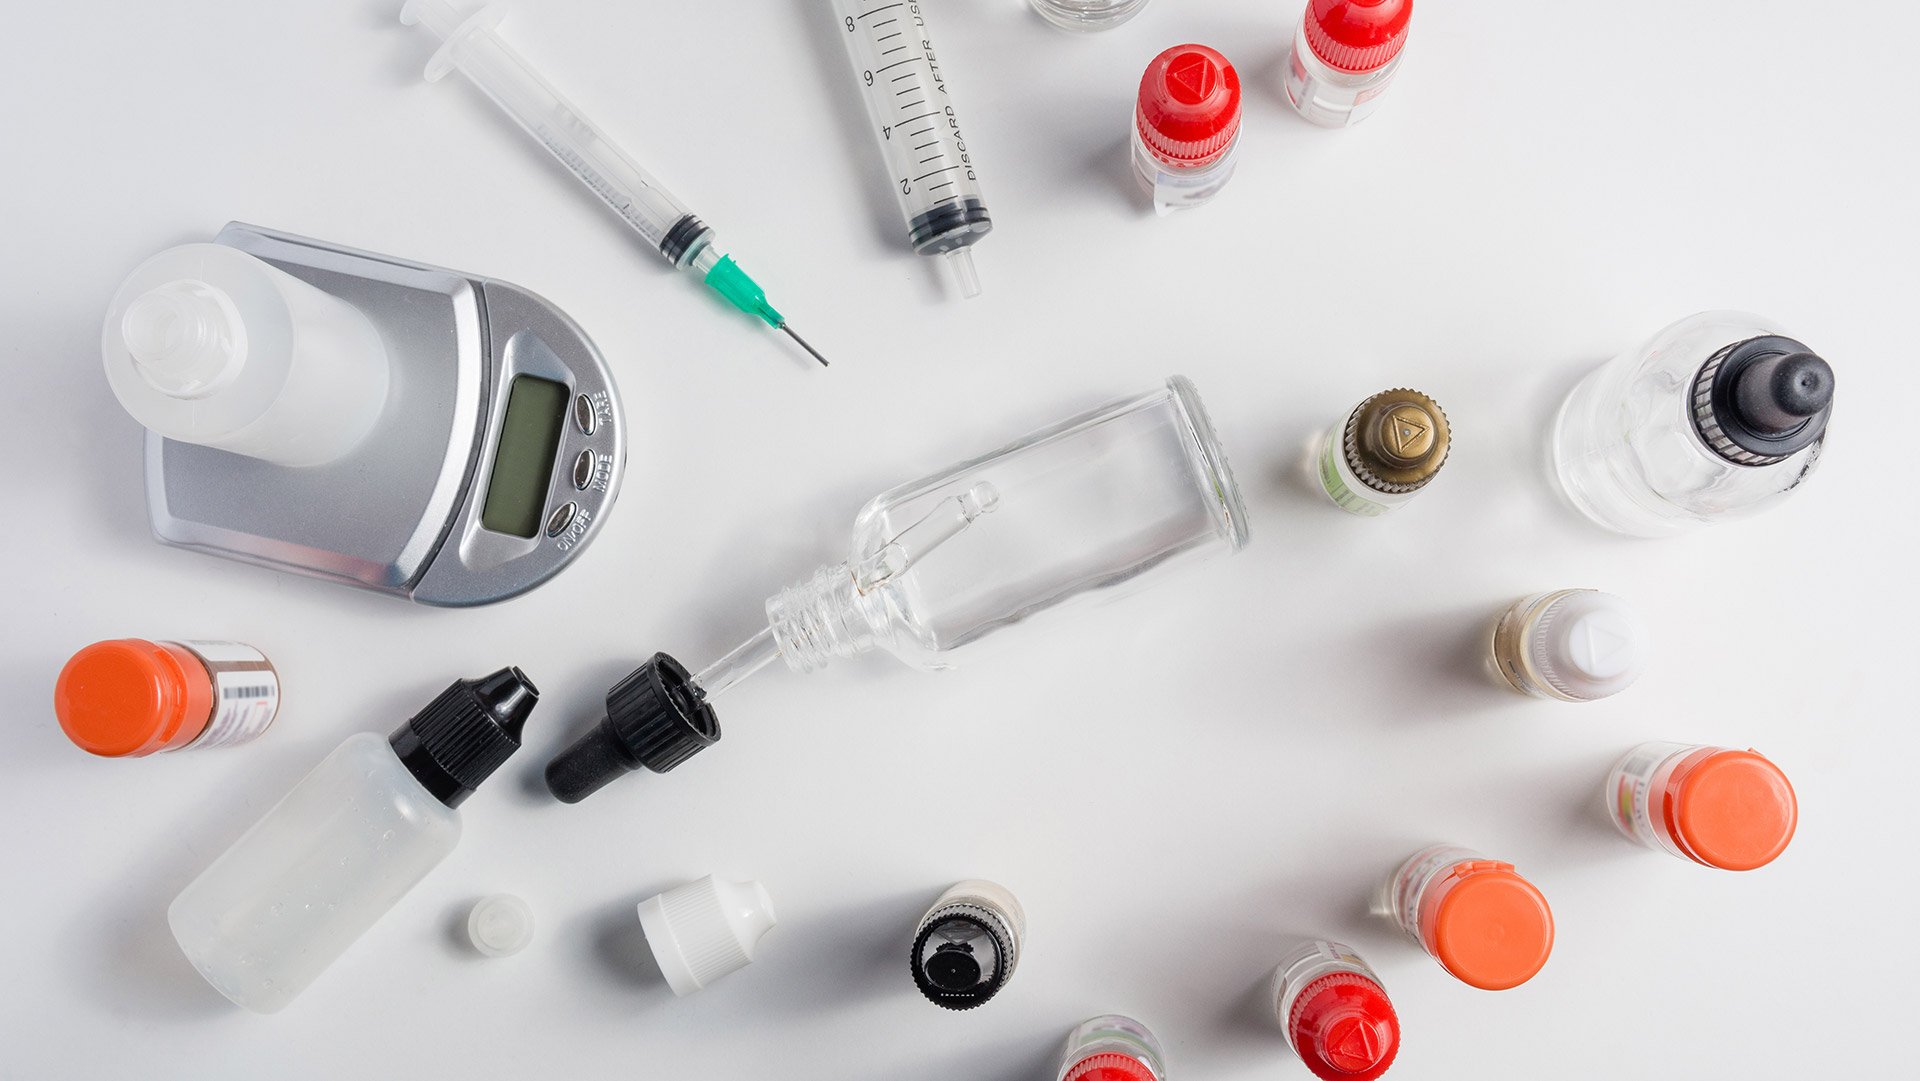
Equipment and environment
Using the correct equipment in the right environment is essential to safely mix high-quality DIY e-juice.
You should always wear protective gloves when mixing e-liquid, as this prevents skin contact with nicotine and other ingredients, which may be irritants. You should also mix in a clean environment, on a stable, flat surface, to ensure that your e-liquid is free from contaminants.
Next, you need to consider how you are measuring your ingredients. There are two common ways to do this: measuring by weight and measuring by volume. In either case, using an online e-juice calculator will help you with the exact numbers involved.
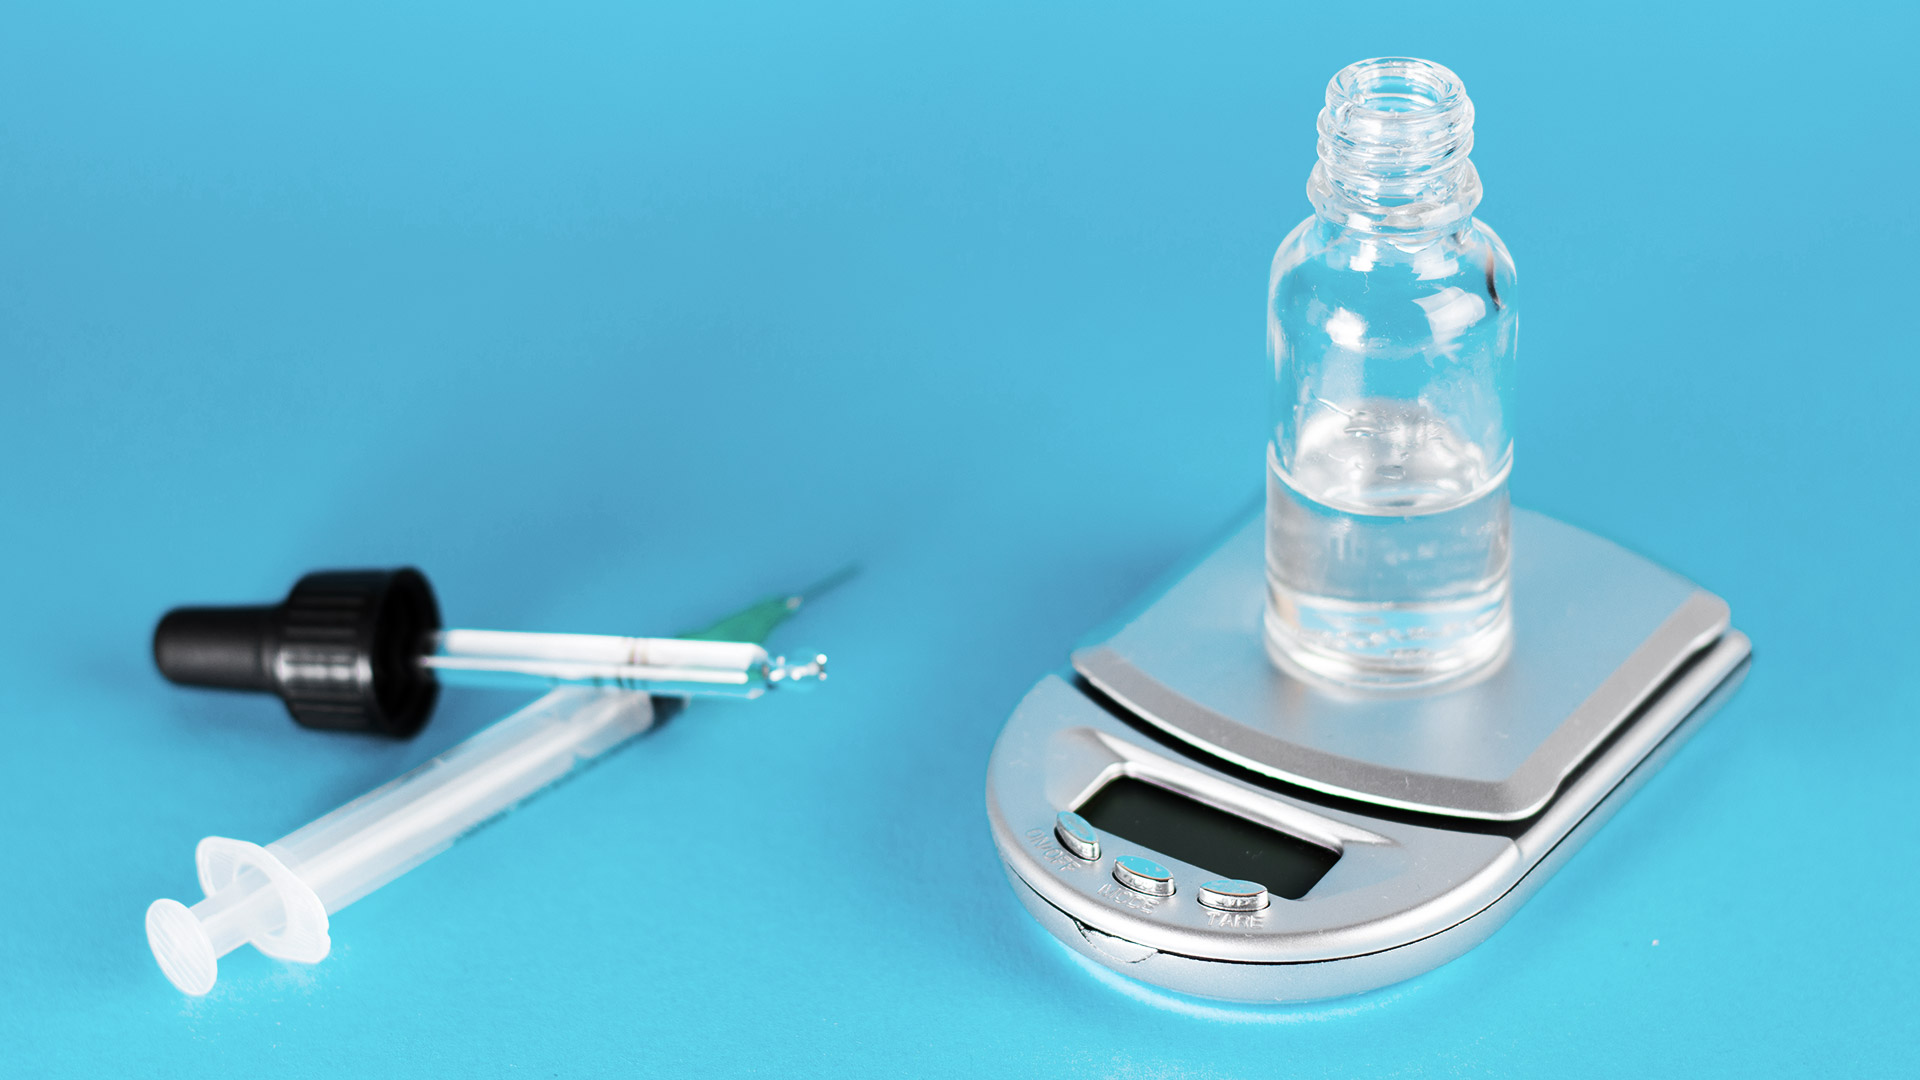
Measuring by weight
Measuring by weight is the preferred method, as it is accurate, fast and requires less cleaning of equipment.
To measure by weight, you will need to purchase a digital scale that is accurate to 0.01g. Many experienced mixers recommend the American Weigh Scales LB-501, due to its reliability and accuracy.
When mixing by weight with a digital scale, you can drip your ingredients directly from their containers into your e-liquid bottle, until the weight indicated by your online calculator is reached. This greatly reduces the risk of spilling ingredients.
Measuring by volume
Measuring by volume requires less initial investment since you don’t need to purchase a digital scale. However, it is less accurate, slower and requires more cleaning of equipment than measuring by weight.
To measure by volume, you will need to purchase a set of blunt tip syringes, ranging from 1ml-10ml and blunt needle tips.
Your online e-juice calculator will indicate the volumes needed of each ingredient to complete your mix. Accurately using the syringes can be time-consuming and you will need to thoroughly clean them after each use. For this reason, we recommend purchasing a scale and measuring by weight wherever possible.
Flavour
There are thousands of food-grade flavourings available to use in DIY e-juice. However, it’s best to start with known brands, since you can easily find flavour notes and recommended concentrations this way.
Brands commonly used in DIY e-juice include Capella, Flavour Art, Inawera, Hangsen, Flavorah and The Flavour Apprentice.
The potency of individual flavourings can vary hugely, so look at flavouring reviews, or make small test batches if you are unsure of how strong your chosen concentrate is. There are many online communities dedicated to DIY e-juice, with thousands of recipes. Most new mixers start with well-known recipes before creating their own. Alltheflavours.com and e-liquid-recipes.com are fantastic resources for trying popular recipes which are known to taste great.
You must never mix e-juice with an oil-based flavouring, as this could be extremely hazardous to your health. If you have any doubts about concentrate, do not use it for vaping.
Calculate and mix
Once you have the required ingredients, the right equipment, and a recipe, it’s time to calculate and get mixing!
There are many online e-liquid calculators, but popular ones include Steam Engine and e-liquid-recipes.com. Once you have chosen a calculator, carefully input all of the relevant values and it will display the precise quantities of each ingredient needed to create your mix.
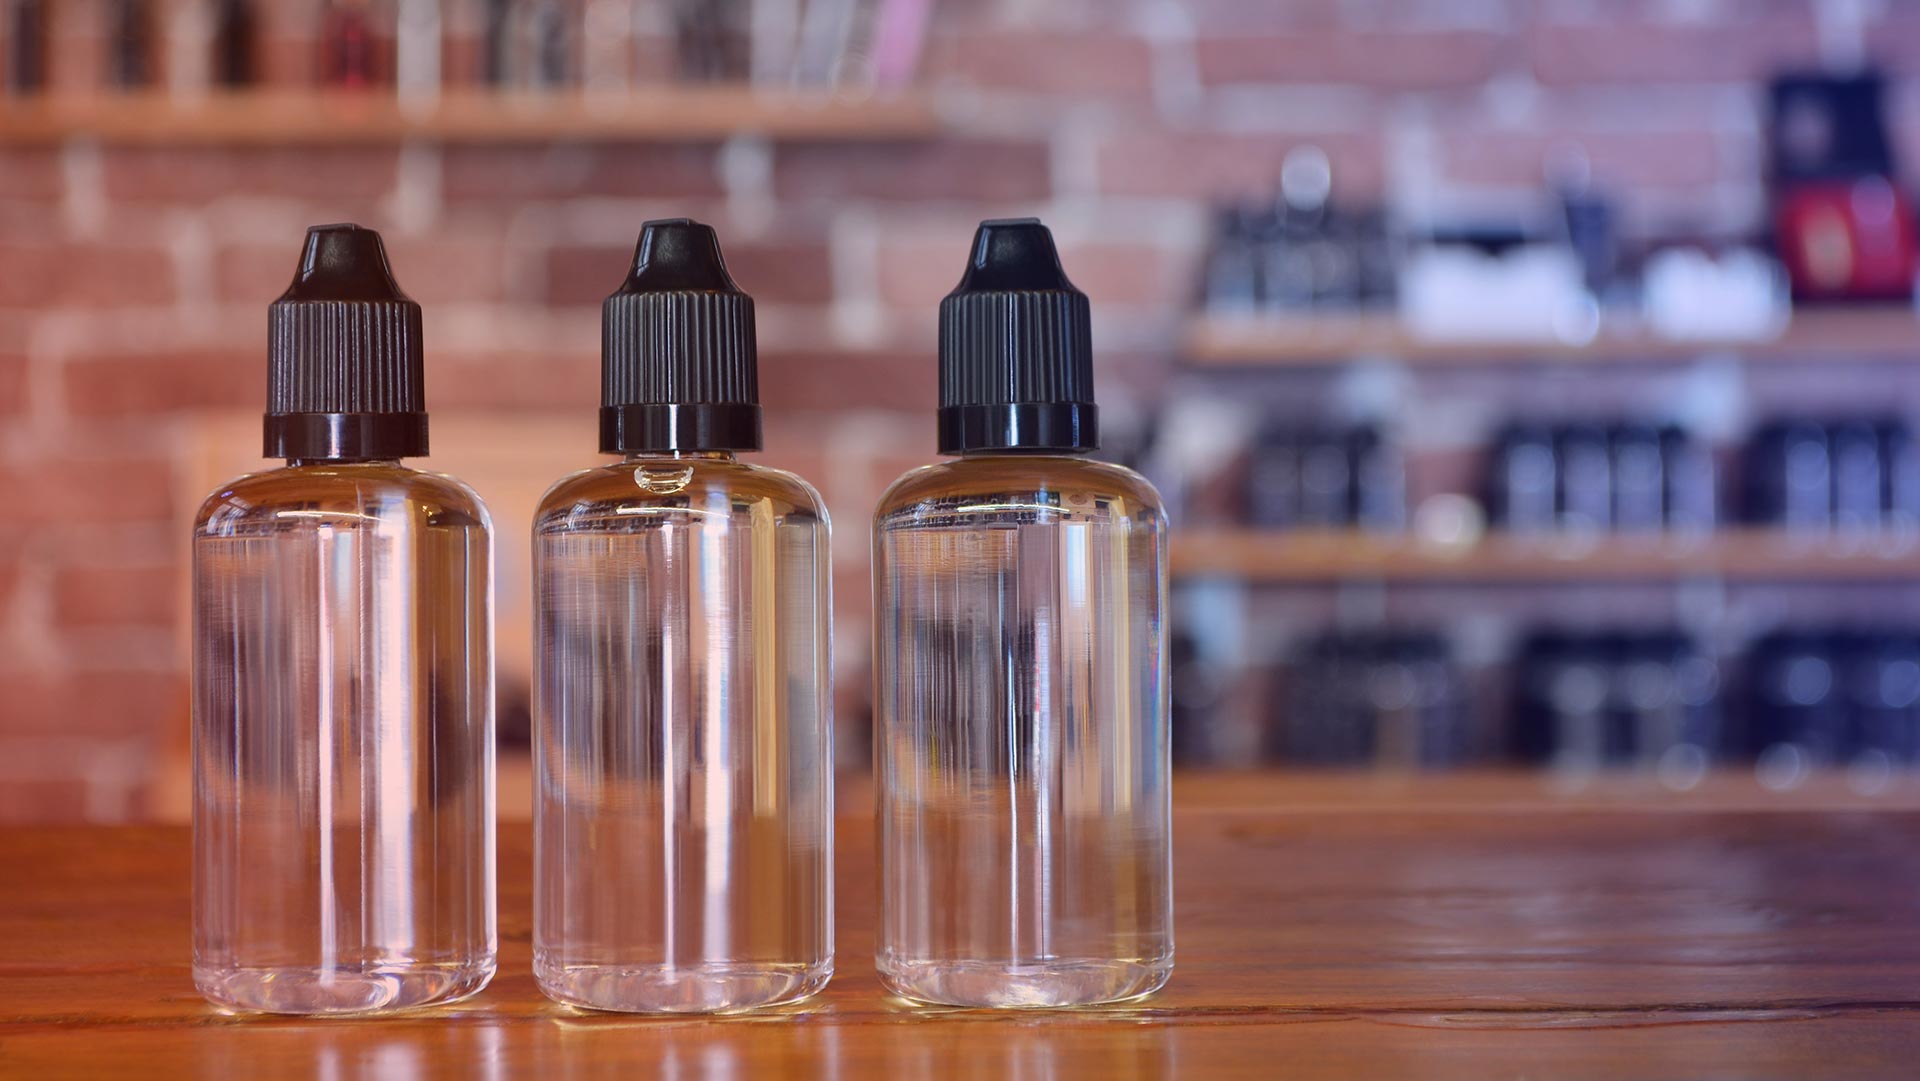
Once you’ve added all of the ingredients, seal your e-juice bottle and vigorously shake it for approximately one minute, until everything is thoroughly mixed. When mixed properly, the solution should be of uniform colour, with no streaks.
Steeping
After mixing your first DIY e-juice, it’s very tempting to start vaping it straight away. In any case, you should wait for at least an hour or so, for the air bubbles to dissipate.
Some flavour profiles taste good almost immediately, particularly less complex mixes and lighter flavours such as fruits. These kinds of flavour profiles are often referred to as “shake and vape” by the DIY e-juice community.
Other flavour profiles require “steeping” to reach their full potential. To steep your liquid, simply leave it sealed in a cool dark place. Different flavour profiles may require different levels of steeping. For example, many light cream recipes benefit from 1-2 weeks of steeping, while a heavy custard may reach its full potential after a month or more.
Disclaimer: some ingredients used in the production of e-liquid may be irritants and may be harmful if not properly handled. If choosing to manufacture e-liquid, you should exercise caution with all ingredients, using the correct equipment in a clean, stable environment. This article is purely for educational purposes.


Leave a reply