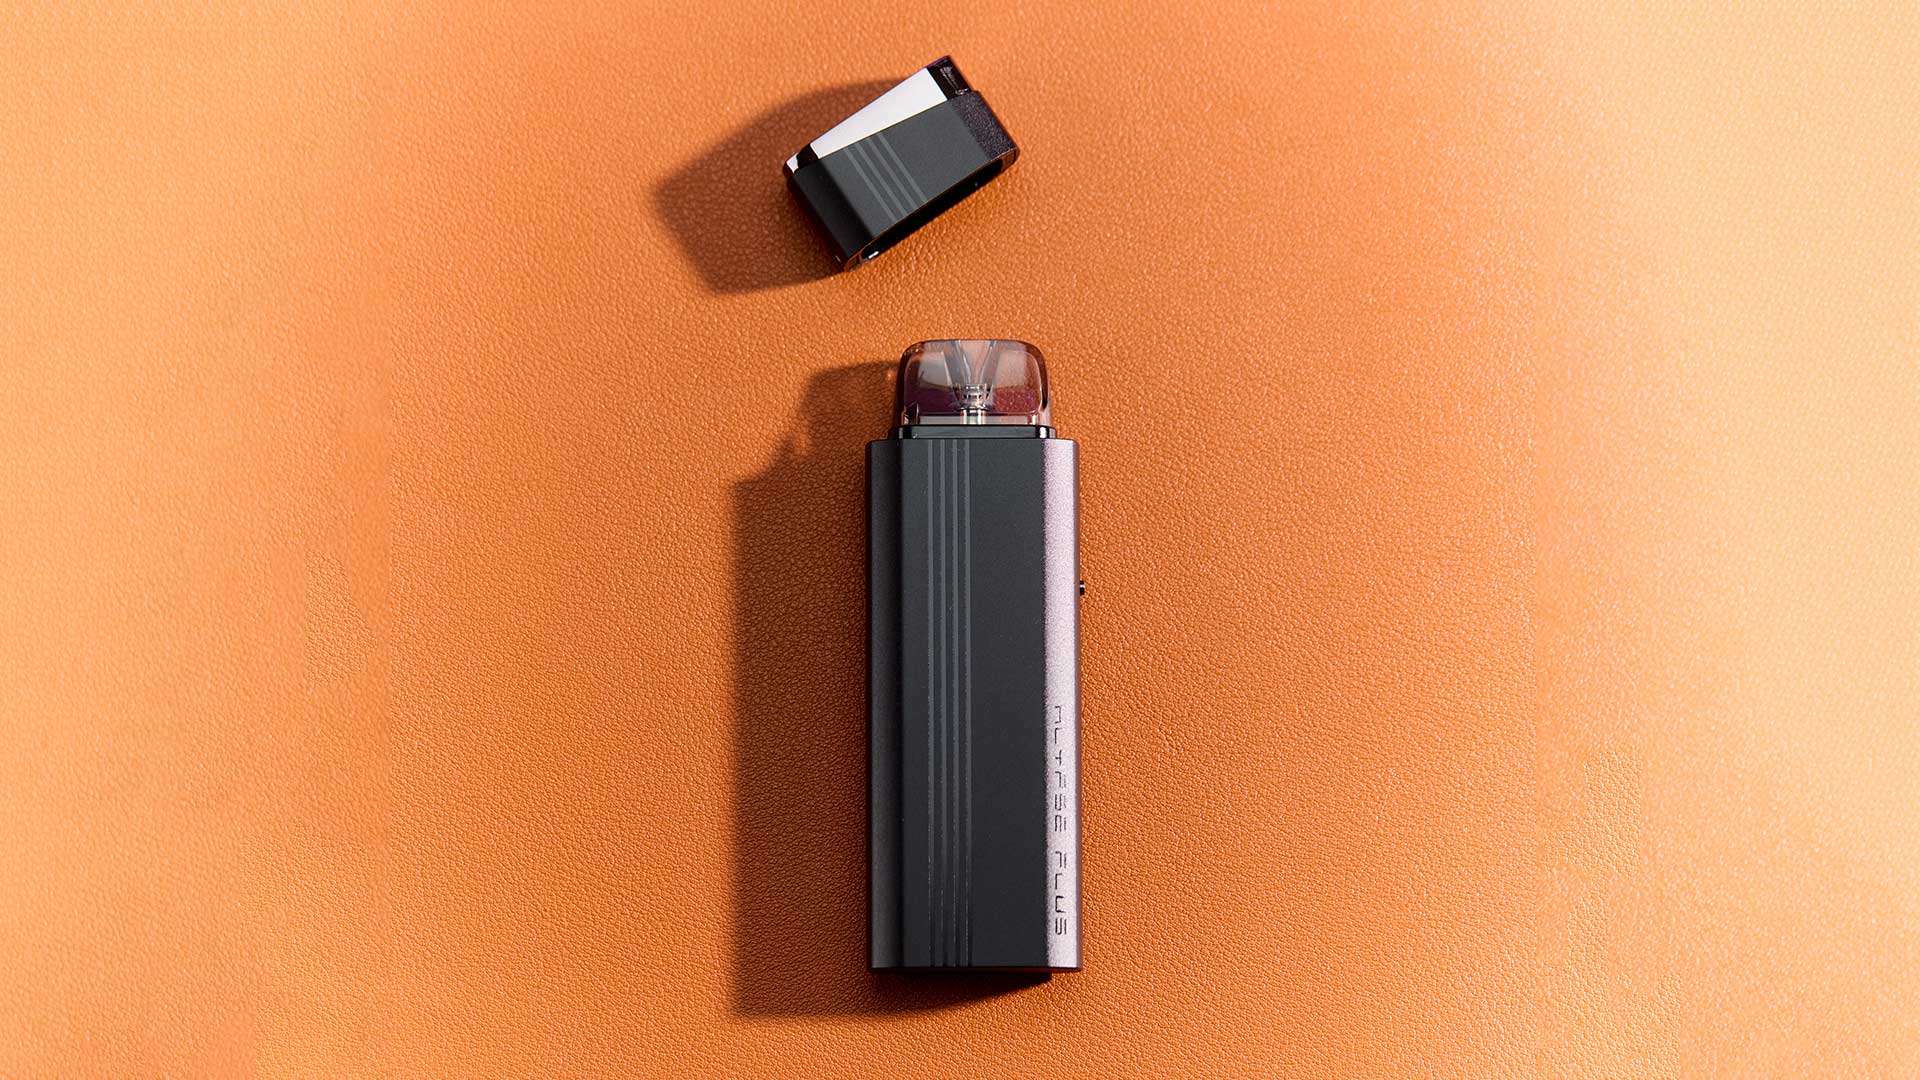
If you own a pod vaping system, you’re well aware of the things that a pod-based device can do to enhance your vaping experience. Using a pod system is practically a requirement if you want to get the most out of the high-strength nicotine salt e-liquids that most new vapers prefer these days. Pod systems are also some of the smallest, sleekest, and most fashionable vaping devices on the market – and the best part is that they’re also extremely inexpensive.
As inexpensive as it may be to buy a pod vaping kit, some recent converts to vaping may experience a bit of a nasty surprise when they find that their pods are burning out much more quickly than expected. Vape pods, after all, aren’t cheap; you want your pods to last as long as they possibly can, and you want to refill them many times before you need to replace them.
In this article, we’re going to teach you one of the most important tricks that you can know as an owner of a pod vaping system: We’re going to teach you how to clean vape pods. When a pod begins to produce a burnt flavor, it doesn’t necessarily mean that the atomizer coil in the pod is bad or damaged. It’s actually much more likely that the coil is simply covered with residue. By removing the residue, you can restore the pod’s original flavor, making it possible to reuse the pod instead of throwing it away.
Before we discuss how to clean a vape pod, though, let’s talk about something else that might be on your mind. What exactly is the residue that’s causing your vape pods to burn out?
Why Does Residue Form in Your Vape Pods?
The reason why residue forms in your vape pods are because many e-liquids have ingredients that don’t convert fully to vapor when they’re heated. Any ingredients that don’t vaporize will end up sticking to the atomizer coil in your pod instead. Over time, the residue becomes thicker until it eventually covers the coil’s heating surface completely. At that point, you’re doing to taste a deeply caramelized – perhaps even burnt – flavor when you vape.
Vapers call that residue “coil gunk.” The gunk prevents the coil’s wick from working effectively – and when the layer of residue becomes very thick, it’ll actually start to burn when you vape. Eventually, you’ll reach a point where it feels like you experience a “dry hit” every time you use your device even though the pod has plenty of e-liquid remaining.

How to Prevent Coil Gunk in Your Vape Pods
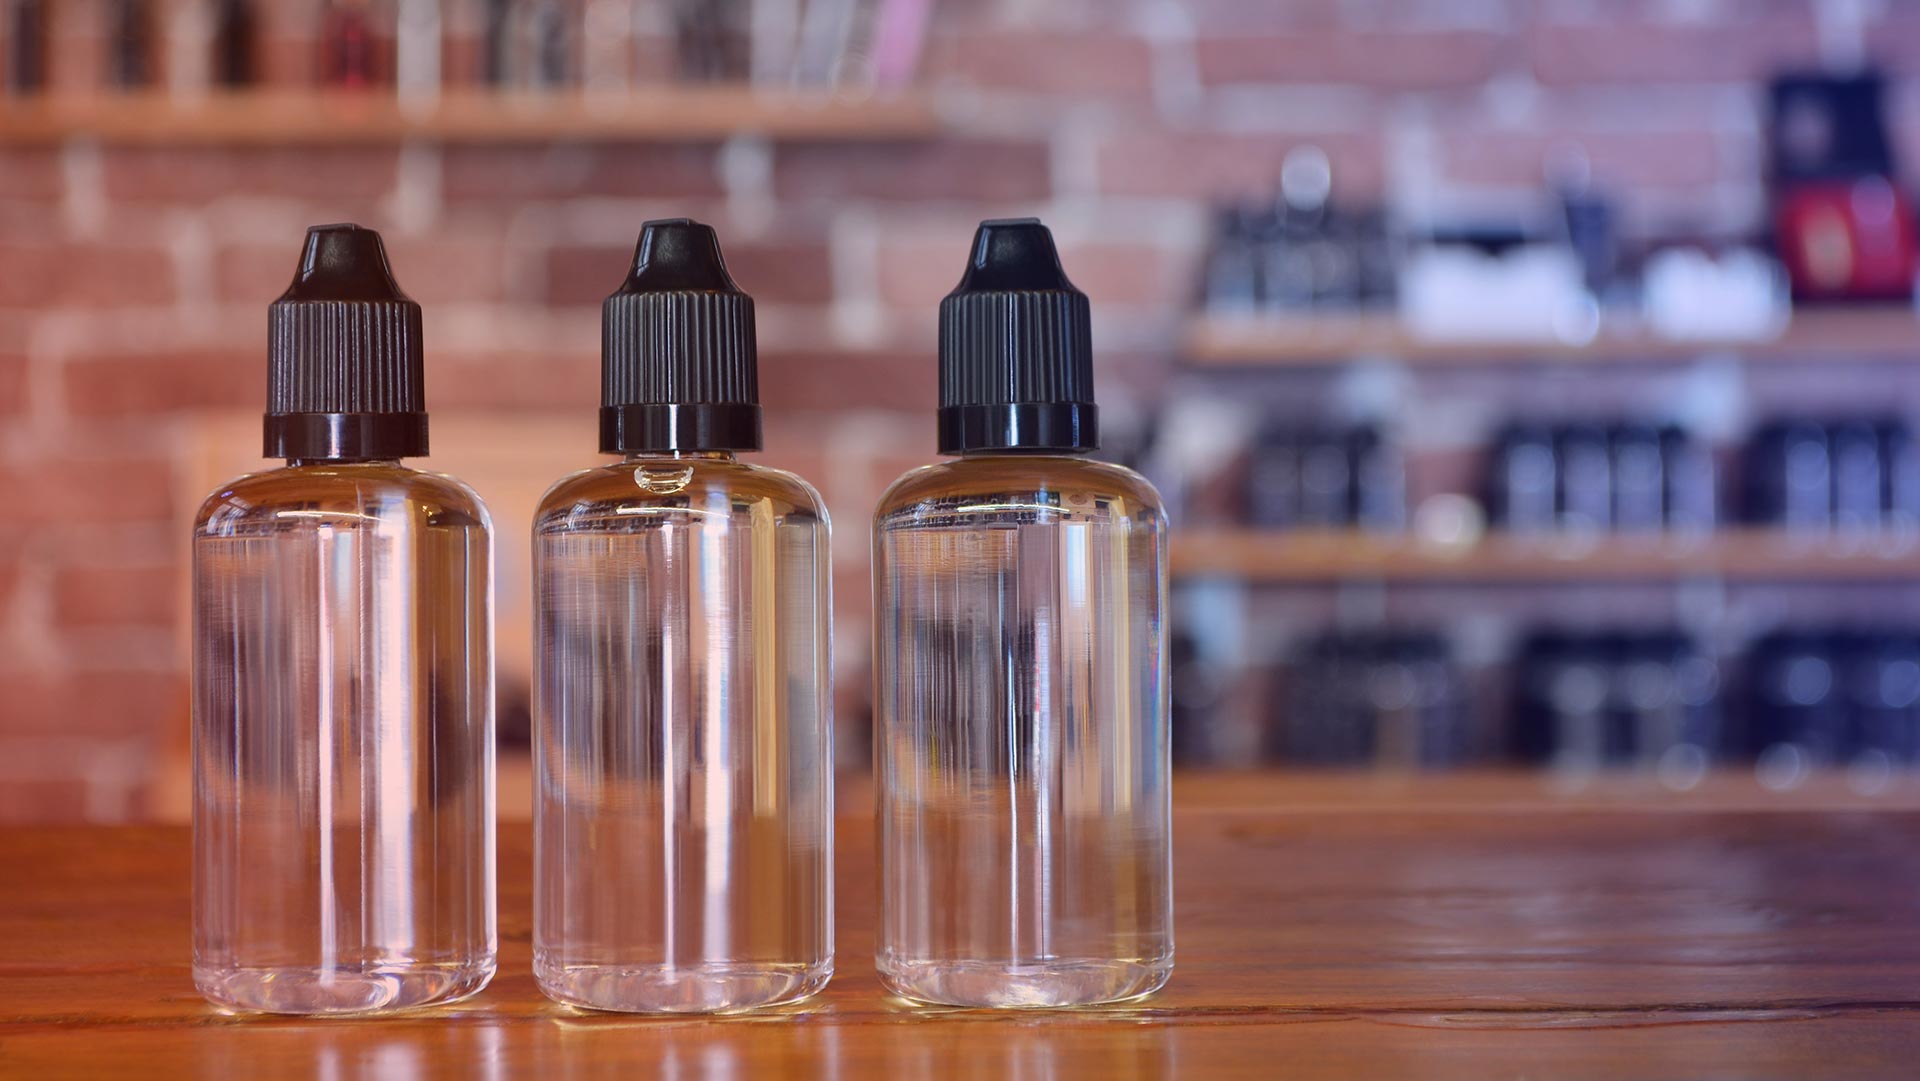
Many e-liquid flavors cause residue to form on a vape coil, but the ingredient that contributes most directly to coil gunk is the sugar-free sweetener sucralose. Vapers almost universally adore sweet e-liquids, and that makes sucralose one of the most common vape juice ingredients today. So many e-liquids are sweetened, in fact, that some people consider it very strange if they happen to buy an e-liquid that doesn’t include sucralose.
So, here’s the thing that you need to know. Are you using an e-liquid that tastes almost like real candy, snack, fruit, or baked good? Does the e-liquid seem to leave a sweet coating on your lips when you vape? If you answered “yes” to those questions, you are almost definitely using an e-liquid that’s sweetened with sucralose. That’s dramatically shortening the life of your pods because sucralose doesn’t vaporize cleanly when it’s exposed to heat. Instead, it melts and caramelizes in much the same way as sugar. You’ll taste a small portion of the sucralose when you use a sweetened e-liquid, but much of the sucralose will stick to the coil and form a layer of gunk that eventually ruins the coil’s flavor.
In short, the best thing that you can do to prevent your vape pods from burning out is switch to an unsweetened e-liquid. The process of residue formation will happen much more slowly, and you’ll be able to use your pods for several days – perhaps even a week or more – before you need to replace them.
What if you don’t want to use unsweetened e-liquid, though? What if you’re completely happy with the flavor of the vape juice you’re currently using, and you don’t want to change anything about your vaping experience? That brings us to the main topic of this article: how to clean vape pods.
-1.jpg?width=1920&name=1.1(300k)-1.jpg)
How to Clean a Vape Pod: Step by Step
Why is it so valuable to know how to clean a vape pod? It’s because, aside from the residue from your e-liquid, there’s nothing physically wrong with the pod’s atomizer coil that’s causing it to produce a burnt flavor. The flavor is simply caused by e-liquid residue – and if you can clean away the residue, your pod will have a perfectly good atomizer coil that’s almost as good as a new coil.
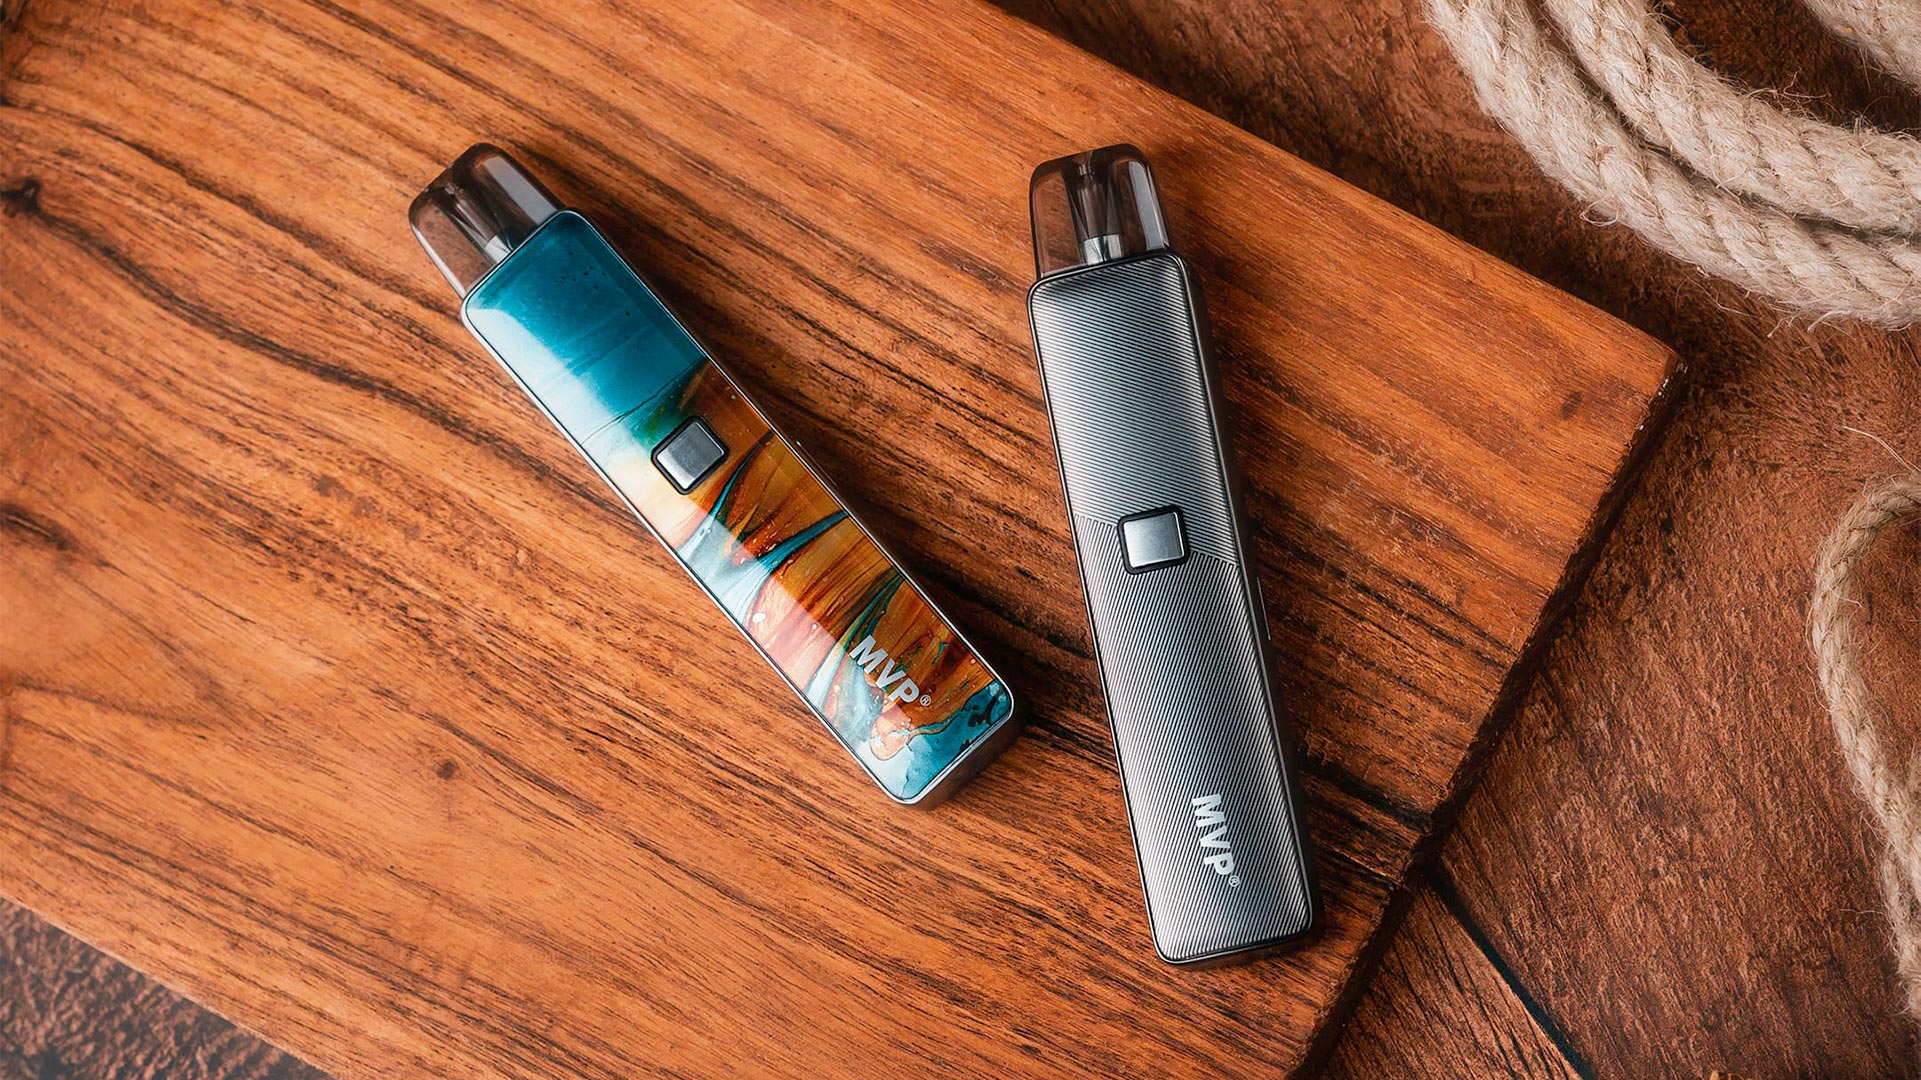
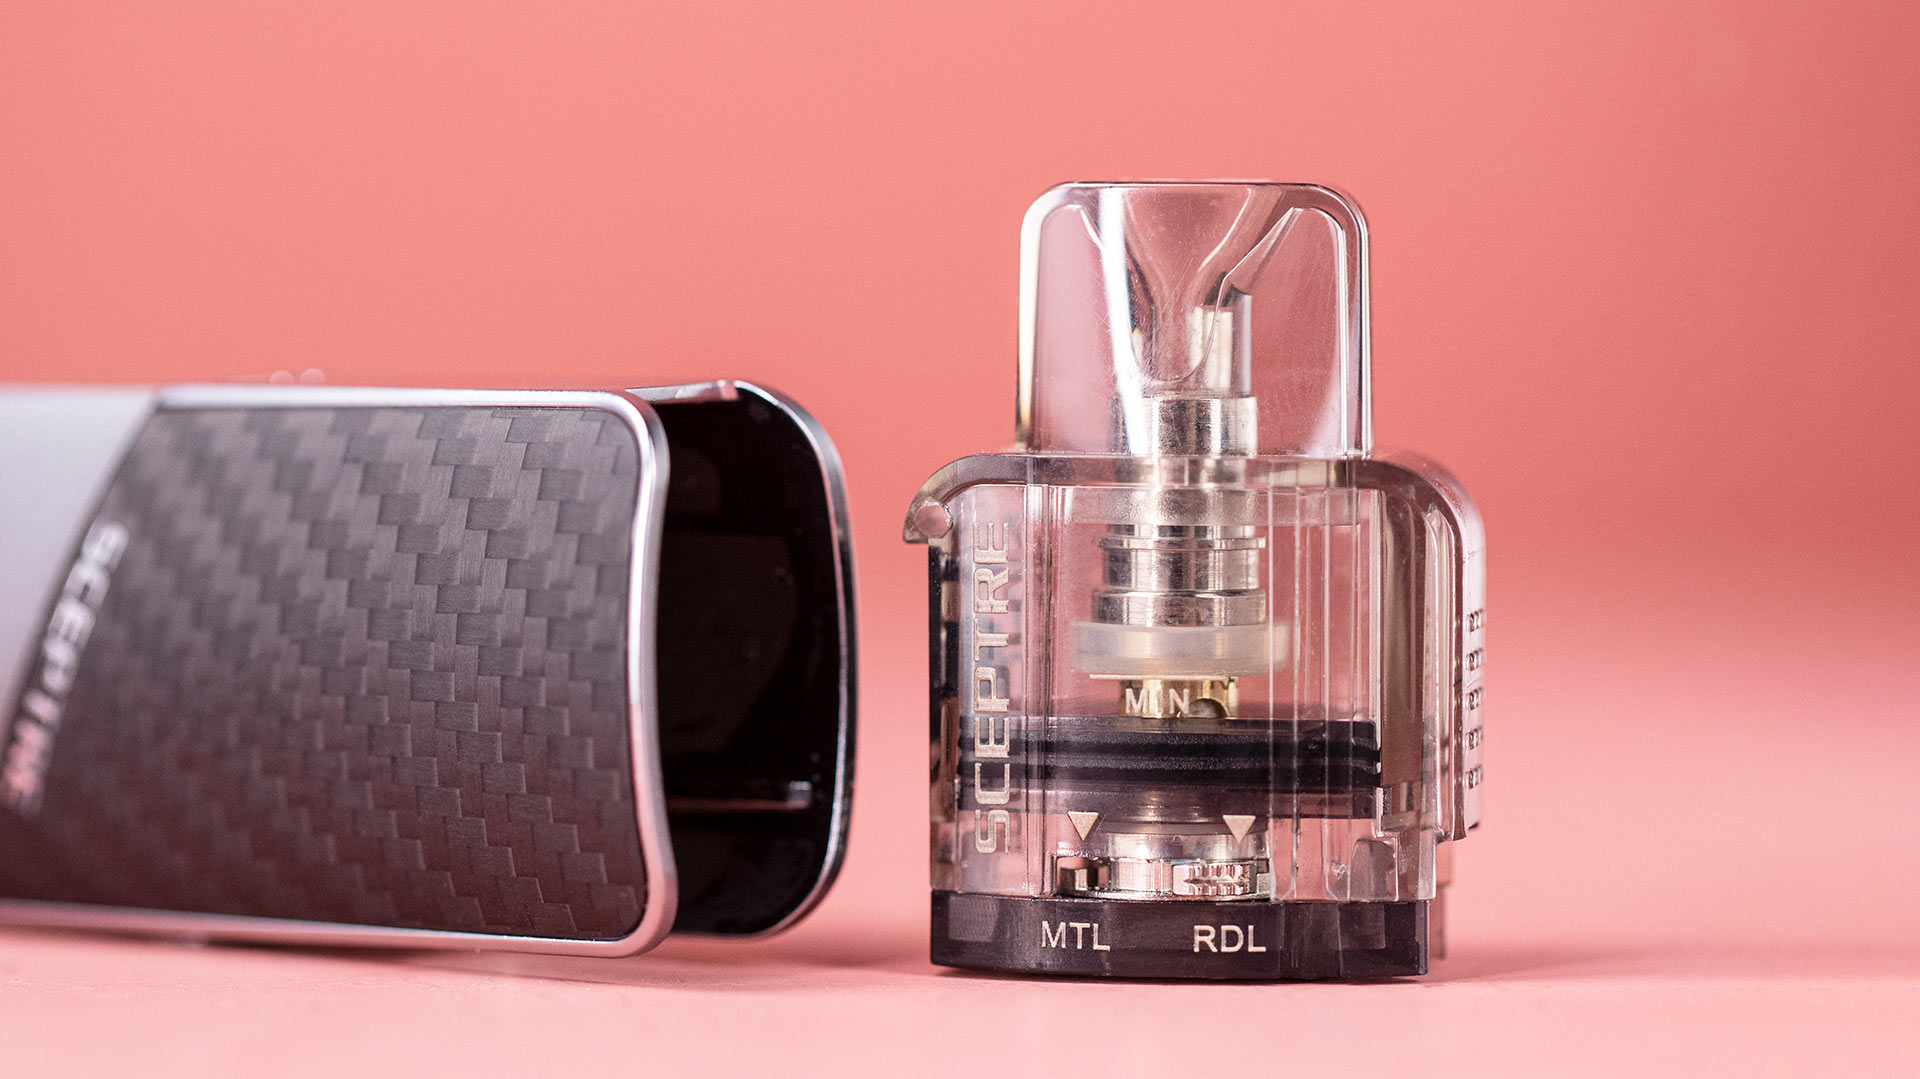
Note that in some pod vaping systems, the atomizer coil is a permanent component of the pod and is not replaceable. In that case, you’ll find it difficult to clean your pod cartridges because liquid can only enter and exit the pod through a single small filling hole. It’s much easier to clean a vape pod if the coil is removable. Some of our most popular pod systems with removable atomizer coils include:
.jpg?width=1920&name=2.2(300k).jpg)
Let’s learn more about how to clean your dirty vape pods.
- Fill a large bowl with very hot water. Don’t boil the water because vape pods are made from plastic, and you don’t want the plastic to degrade or melt.
- Open your vape pod’s filling hole. If the pod has a removable coil, remove the coil as well. Place both items in the water. Note that vape pods will tend to float since they’re hollow. You may need to hold the pod down to make it fill up with water. It’ll be difficult to clean the pod if it isn’t submerged.
- Swish the pod and coil in the water to provide agitation and break up the residue. Let the items continue to soak in the water for a while before swishing them around again. At this point, you will probably see some dark flecks floating in the water or inside the pod, if the pod has a non-removable coil.
- Empty the bowl and refill it with more hot water. Continue swishing the pod and coil periodically to break up the residue. When dark flecks stop appearing in the water, the coil is clean. If you’re using a pod with a built-in coil, you may need to rinse the pod under the faucet to force some of the flecks out of the pod.
- Remove the pod and coil from the water. Tap the pod against a paper towel to remove most of the water. Allow the pod and coil to air dry for several hours before you resume using them.
Are you having trouble removing the residue from your vape pods using hot water alone? In that case, you can try cleaning your pods with alcohol instead. Use strong alcohol that’s safe to drink, such as vodka. Vodka is a much more effective solvent than water. Since it’s also much more expensive than water, though, you may want to wait until you have several dirty pods and coils and clean all of them at the same time. After you’ve finished cleaning the items, rinse them thoroughly to ensure that the alcohol is completely removed.
In some cases, you may have difficulty removing contaminants like dust and pocket lint from hard-to-reach areas of your vape pods such as the intake vents or the contact plates on the bottom. Scrape those areas gently with a toothpick to remove the grime.
Do you want to take your vape pod cleaning to the next level? Try cleaning your pods and coils in an ultrasonic cleaner instead of simply using a bowl of hot water. You can use the same type of cleaner that you’d use for jewelry. The ultrasonic vibrations will remove the residue from your coils much more quickly – and much more completely – than you could by cleaning your coils manually.
Does Cleaning Always Fix a Burnt Vape Pod?
The final thing you need to know before you start cleaning your vape pods is that cleaning a pod only removes the burnt flavor if residue on the pod’s coil is the cause of the problem. It’s also possible for a burnt flavor to appear because the pod’s wick is damaged – and in that case, the only thing that you can do is replace the pod or coil.
A coil’s wick can burn if the wick isn’t completely wet when you vape. That can happen, for example, if you vape with an empty pod because you’ve forgotten to refill it. It can also happen if you begin vaping immediately after installing a new pod or coil. When you replace a vape coil, it’s important to wait several minutes before vaping to ensure that the wick is fully saturated with vape juice.
With experience, you’ll learn how to tell the difference between coil residue and a burnt wick. Coil residue tends to have a somewhat sweet flavor, like burnt sugar. A damaged wick, on the other hand, tends to create a much harsher flavor that burns the back of your throat.