If your vape mod displays the error “Ohms Too Low” when you press the fire button, it means that your device can’t work safely because the detected resistance of the atomizer coil installed in the tank is too low.
The best vapes always have built-in protection circuits that manage power delivery to ensure that you can vape safely. One of the most important aspects of power management with a vape mod is detecting the electrical resistance of the installed coil because the resistance will determine the voltage and amperage that will be drawn from the battery to reach the wattage you’ve selected. If the resistance of the coil is too low, the resulting current may exceed the battery’s safe operating limits. In this case, the vape mod shuts down and displays an “Ohms Too Low” message. Your device probably also has the ability to display an “Ohms Too High” message.
In some cases, a vape mod may also display the “Ohms Too Low” error when it detects a short circuit.
Whatever the reason for the error may be, you can’t vape until you’ve resolved it – and that’s what we’re going to help you do in this guide. When a vape mod displays this error, it usually means that there’s a problem with the electrical connection between the device and the coil or a problem with the coil itself. Either way, fixing it should be fairly easy once you’ve identified the source of the problem. Here’s what you should do.
Make Sure Your Device Supports the Coil’s Resistance
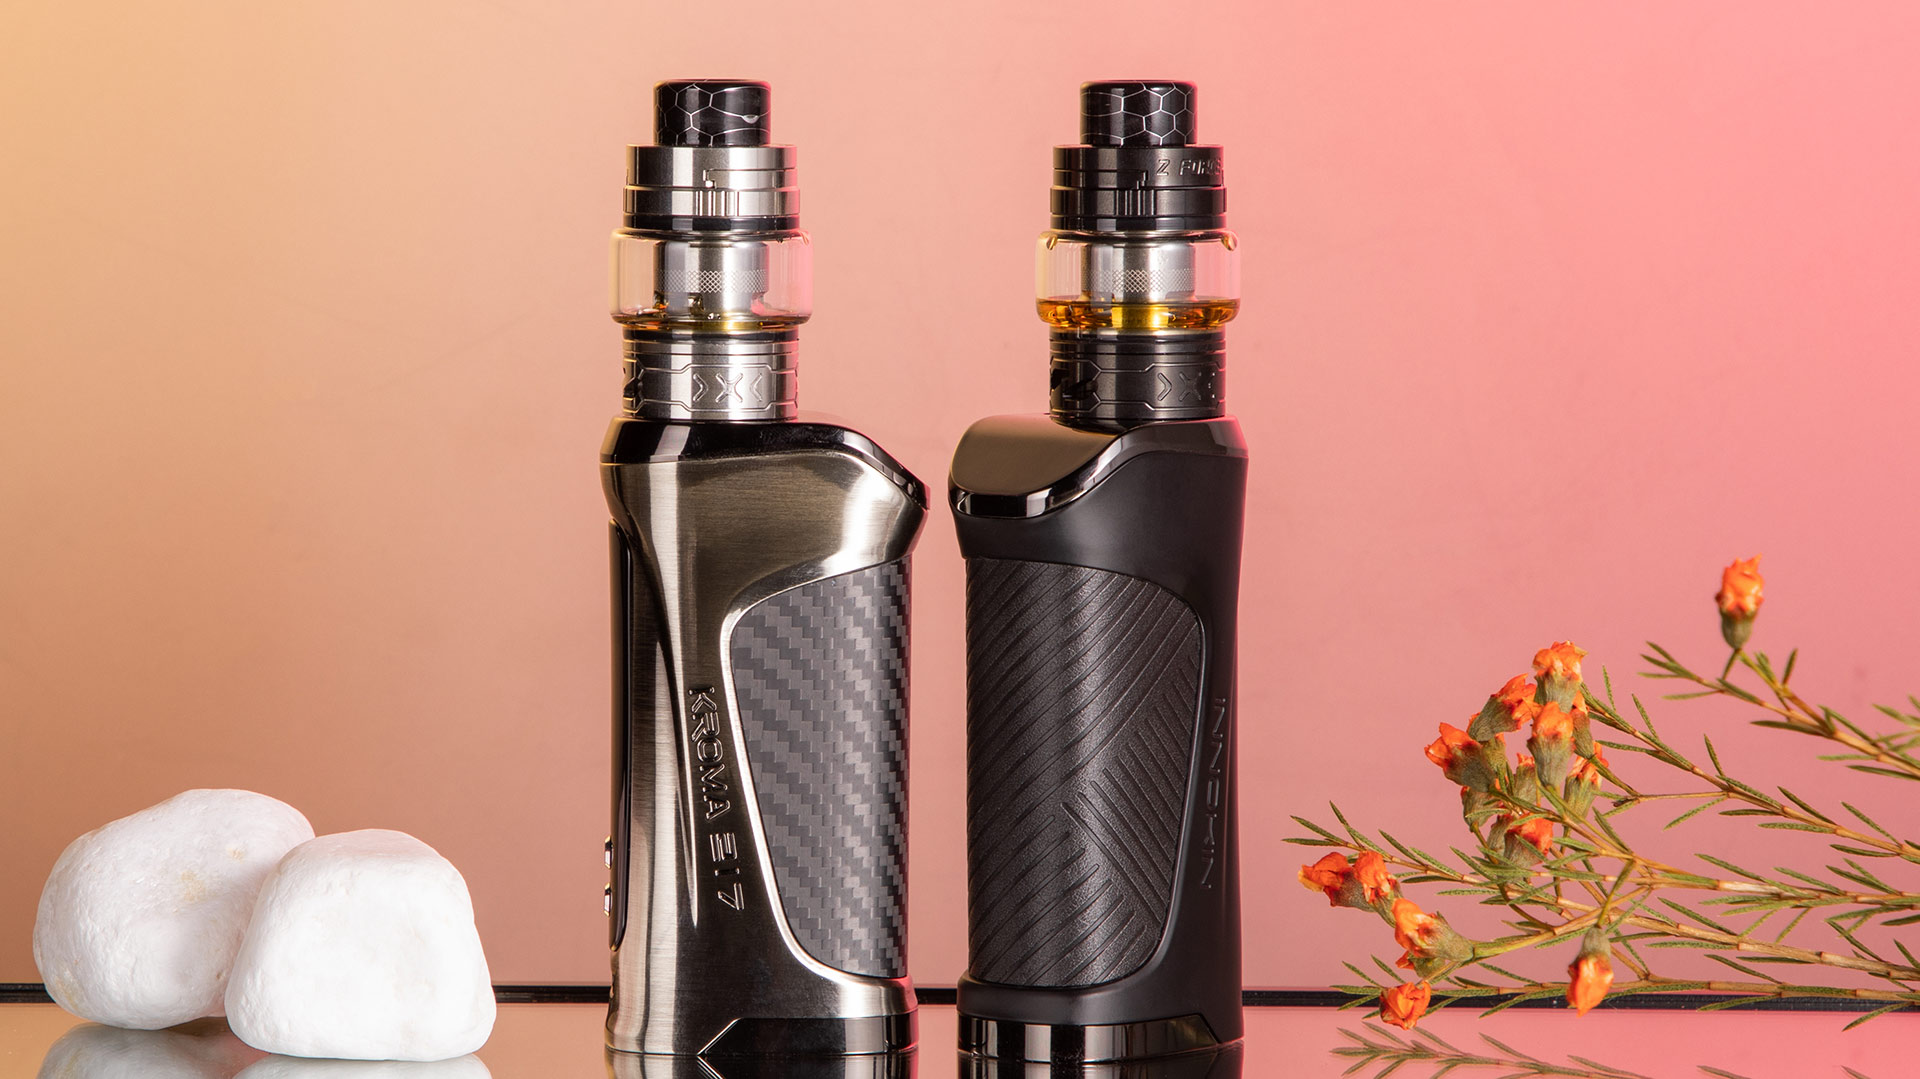
Before you get too deep into troubleshooting your vape mod’s “Ohms Too Low” error, you should check your device’s specifications because it’s possible that the coil’s resistance actually is too low. When you check the specifications of a device like the Kroma 217 at Innokin.com, you’ll see the device’s supported coil resistances at the bottom of the page next to “Resistance range.” In this case, the Kroma 217 supports coils with resistances as low as 0.1 ohm. You’re not likely to find a pre-built coil with a resistance lower than that – but if you do, it won’t work with this device.
Every vape mod has a minimum supported coil resistance. If you can’t find your device’s minimum resistance online, you should be able to find it in the instruction manual.
You can usually find the resistance of a vape coil on its box and etched into the side of the coil itself.
There’s a limit to how low the resistance of any vape coil can be for safe wattage-based vaping. You’re unlikely to ever see a commercially built coil with a resistance below 0.1 ohm, and just about every vape mod on the market today supports coils with that resistance. In other words, you’re unlikely to find a modern vape mod that can’t support virtually every pre-built coil on the market. Seeing an “Ohms Too Low” error is a real possibility, though, if you connect a modern vape tank to an older mod. In this case, it’s probably time to buy a new device.
Charge the Battery
If the battery in your vape mod has an extremely low charge level, it may not be possible for the battery to deliver sufficient voltage for the coil in your tank to operate. In this case, a mod will usually display an error message like “Low Battery,” “Check Battery” or “Charge Battery.” Vape mods can sometimes behave strangely when their batteries are almost dead, though, so seeing an “Ohms Too Low” message is entirely possible in this case. If your device has been working normally up to this point, try charging the battery and see if that resolves the issue.
Check for a Leak
If you’re still unable to vape after charging your vape mod’s battery, the next thing that you should do is remove the tank and check your device’s threading for contaminants such as leaked e-liquid, dust or dirt. Your vape mod can only detect the resistance of the installed coil accurately if a good electrical connection is made between the device and the coil.
To clean your mod’s threading, insert a dry cotton swab into the threading and twist the swab while pushing it down gently. Remove the cotton swab. If it looks wet or dirty, repeat the process until a swab comes out clean. Reinstall the tank, making sure that it’s screwed in firmly. Try vaping again. If your device still isn’t working, it’s time to troubleshoot the issue a bit more deeply.
Disassemble the Tank
If you’ve tried all of the steps above and were unable to get your device working, the next step is to remove the tank and unscrew the tank’s bottom hardware. Start by making sure that the coil is screwed in all the way. Does the coil feel loose? Tighten it and try vaping again.
If your device still isn’t working after you’ve tightened the coil, you should remove the coil and check under it to see if there’s a large amount of e-liquid in your tank’s base. A little condensation is normal. If your tank’s base is extremely wet, though, dry the base completely with a paper towel and try vaping again.
Disassemble your vape tank fully if your device is still displaying an “Ohms Too Low” error. Put the tank back together slowly. Confirm that none of the threads are crossed, and the coil is screwed in completely. Depending on the design of your vape tank, it may be possible to cause a short circuit if the tank’s parts are misaligned because the tank’s chimney can touch the coil’s heating surface. Try vaping again after reassembling the tank. If your vape mod still isn’t working, continue to the next section.

Adjust the Pins on Your Device and Tank
In the center of your vape mod’s threading, you’ll find a copper pin that needs to touch a pin at the bottom of your vape tank in order for your device to work. It’s possible for a vape mod to display an “Ohms Too Low” message if the pins aren’t touching one another. However, some vape mods and tanks have adjustable pins to make this problem easy to correct.
Check the pin in your vape mod’s threading to see if has an indentation for a screwdriver. If it does, the pin is adjustable. Simply insert a screwdriver and twist to raise the threading. Sometimes, the adjustable pins in vape mods are reverse threaded. In that case, you’ll need to twist the pin clockwise to raise it.
If your vape mod doesn’t have adjustable threading, check the pin on the bottom of your tank to see if it is adjustable. If it isn’t, you may be able to extend the pin by grasping it with needle-nose pliers and pulling gently. Try vaping again. If your device still isn’t working, it’s very likely that the coil you’re using is damaged or has a manufacturing defect.
Replace the Coil or Tank
In this article, we’ve provided a number of steps that can help you resolve an “Ohms Too Low” error by identifying and fixing some of the most common reasons why a vape mod might be unable to read a coil’s resistance accurately. After you’re eliminated all of those possible causes, though, the only things remaining – assuming that your vape mod is working correctly – are the tank and the coil.
As we mentioned in this previous section of this guide, if you’ve gotten to this point in troubleshooting and are still unable to use your vape mod, the most likely cause of the issue is that the coil in your vape tank is defective or has been damaged – perhaps from being dropped on a hard surface. Install a new coil and try using your device again.
If replacing the coil doesn’t get your vape mod working again, it’s possible that the tank has a manufacturing defect that prevents the pin at the base of the tank from touching the pin in your mod’s threading. This is especially likely if the tank that you’re trying to use has never worked with your device. Try using a different tank. If the second tank works, you should probably consider returning the non-functional tank to the retailer or contacting the tank’s manufacturer for warranty service.
The final potential point of failure in your vaping setup is the mod itself. Hopefully, you have the ability to test the mod by trying it with two different tanks. If you don’t have a second tank to try, it’s worthwhile to ask for assistance at a local vape shop because they’ll probably have a tank that you can try. If your vape mod isn’t working with any tank, you can conclude that the mod is probably defective or damaged. If it’s a new mod and has never worked, return it to the retailer or contact the manufacturer for warranty service.