No matter what type of vaping device you own, changing a vape coil is going to be a regular part of your routine. To maintain the best possible flavor and performance, you’ll need to replace the coil in your vape tank or pod system every few days or so.
As with so many other aspects of vaping, though, there is a right way to change a vape coil if you want to have the best possible experience – and that’s what you’re going to learn from reading this article. So, when is the right time to change a vape coil? How do you change a coil if you want it to produce the best flavor and last as long as it can? Let’s dive in and answer your questions.
How to Know When to Change a Vape Coil
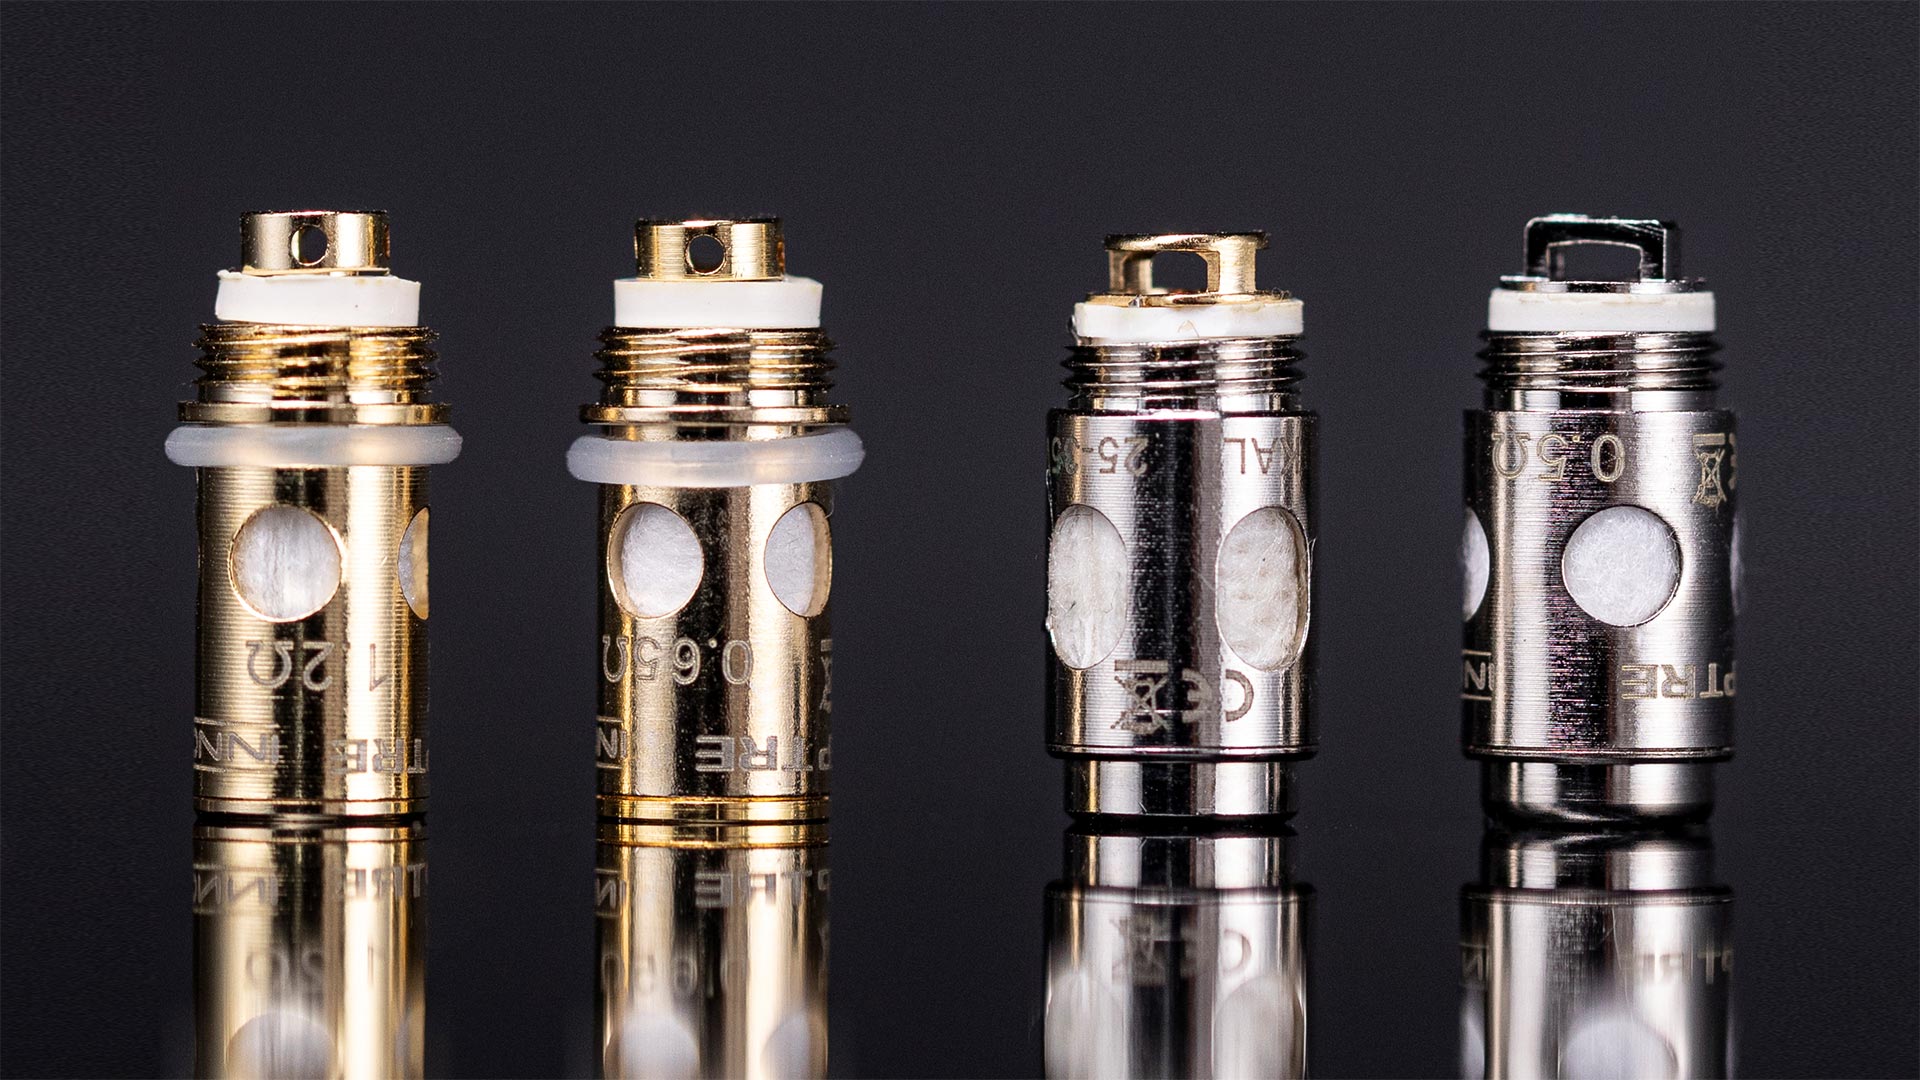
When you’re no longer happy with a coil’s flavor quality, it’s time to replace the coil. A vape coil can burn out because a layer of residue has formed on the heating surface or because the coil’s wick has been damaged.
So, when should you change a vape coil? The short answer is that it’s time to replace your coil when you’re no longer happy with the flavor. When a coil is past its prime, you may notice the following changes in flavor when you vape:
- You may find that the flavor of your e-liquid begins to lack definition; you’re no longer able to taste the subtle notes in your favorite vape juice.
- You may find that your e-liquid has seemingly become sweeter and that the sweetness is so exaggerated that it covers the e-liquid’s other flavor notes.
- You may find that your e-liquid has begun to taste burnt. The burnt flavor may taste like deeply caramelized sugar, or it may almost taste like smoke.
When a vape coil’s wick or heating surface is badly burned, you may also notice a sensation of irritation or tightness in the back of your throat when you vape. If you’ve been using a coil for a while and experience throat irritation that you didn’t feel when the coil was new, it’s definitely time to change the coil.
A vape coil has a finite life, but the fact that the flavor quality has begun to degrade doesn’t mean that you need to replace your coil immediately. Vape coils can become expensive if you’re replacing them every day. If a coil’s flavor has begun to change – but you’re still happy with its performance overall – you can continue using the coil until you’re no longer happy with it.
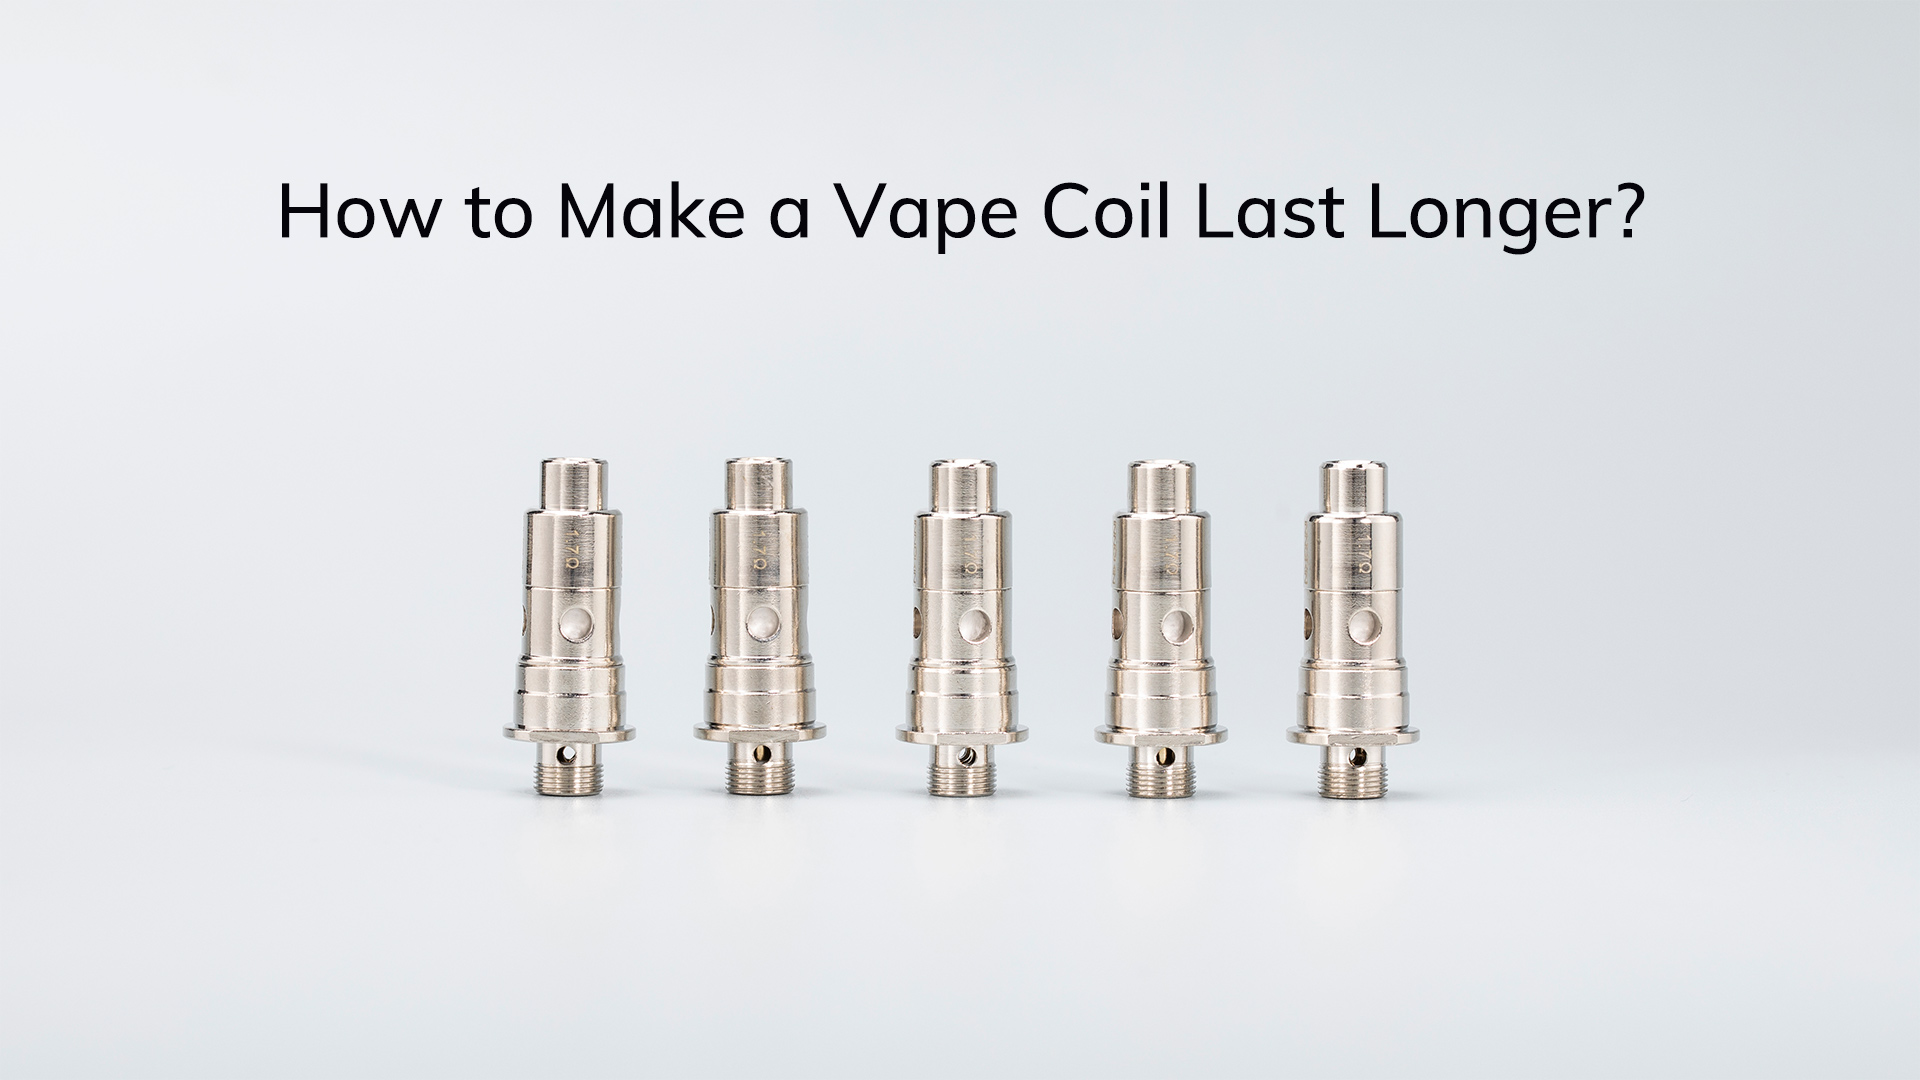
How to Make a Vape Coil Last Longer
To make your vape coils last longer, you may need to change something about the way you vape. If your coils are burning out because of e-liquid residue, consider switching to unsweetened e-liquid. If your coils’ wicks are burning, make sure that you’re priming the coils when installing them and try to avoid setting your vaping device’s wattage too high.
If you’re unhappy with the longevity of your vape coils and would like them to last longer, you need to determine what’s causing them to burn out. When a vape coil burns out, there are two possible reasons. Either e-liquid residue has fouled the coil’s heating surface, or the coil’s cotton wick is burned. Once you know whether the problem is the heating surface or the wick, you’ll know what you need to change in order to increase coil life.
How to Know Why Your Coils Burn Out
To determine why a vape coil has burned out, look through the top of the coil after removing it from your tank. If the coil’s heating surface is dark, e-liquid residue is the reason why the coil needs to be replaced. If the heating surface is still light and shiny, then you’re probably unhappy with the coil’s flavor because the wick is burned.
How to Vape for Maximum Coil Life
All e-liquid ingredients can leave residue on a vape coil, but the sugar-free sweetener sucralose is the ingredient that contributes most directly to poor coil life. If e-liquid residue is the reason why your coils burn out quickly, you’ll enjoy much better coil longevity if you switch to unsweetened e-liquid.
If you use unsweetened e-liquid, your vape coils can last anywhere from several days to a few weeks each. If a coil starts to produce a burnt flavor after weeks of use, that’s probably about the longest coil life you can possibly expect.
If you find that you consistently burn your coils’ wicks after just a few days of use, though, that isn’t normal. It probably indicates that you’re either vaping at too high a wattage or aren’t changing your coils properly. We’ll discuss how to change a vape coil in greater detail shortly. Once your new coil is installed, though, it’s important to ensure that you always keep your device set to a moderate wattage and that you always top up your tank or pod when the level of vape juice starts to look low.
Can You Clean and Reuse Your Vape Coils?
Did you know that you can actually clean your vape coils and reuse them? Click the link to view our full vape coil cleaning guide. In it, we explain how to clean pre-built vape coils and coils that you build yourself for an RDA or RTA.
When you clean your vape coils, it’s important to remember that there are some problems cleaning can’t fix. That’s another reason why it’s so valuable to examine your coils when you remove them from your tank or pod system – so you can understand why your coils are burning out.
If e-liquid residue is the reason why your coils are burning out, cleaning can remove the residue and restore your coils’ original flavor. Cleaning a coil, however, can’t fix burnt cotton. Cleaning will not restore a coil’s flavor if the wick is burnt.
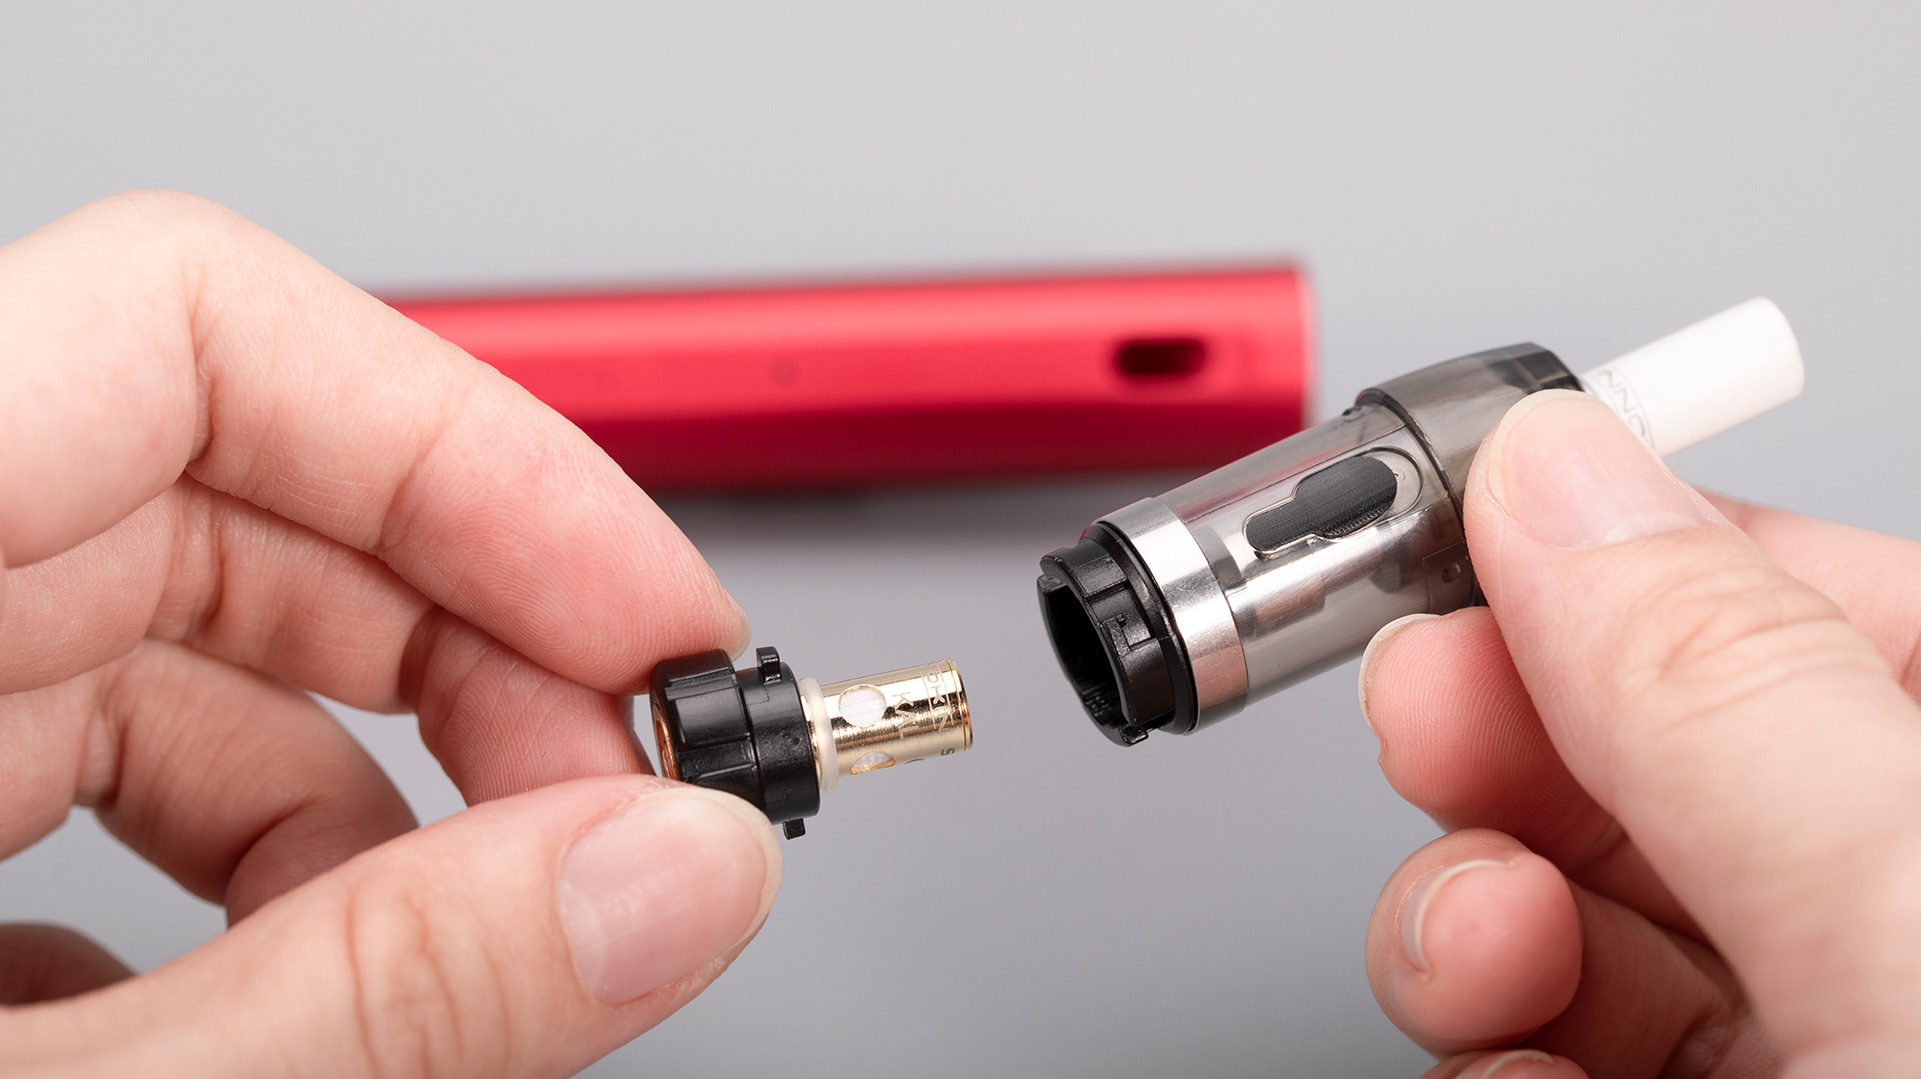
How to Change a Vape Coil in a Pod System
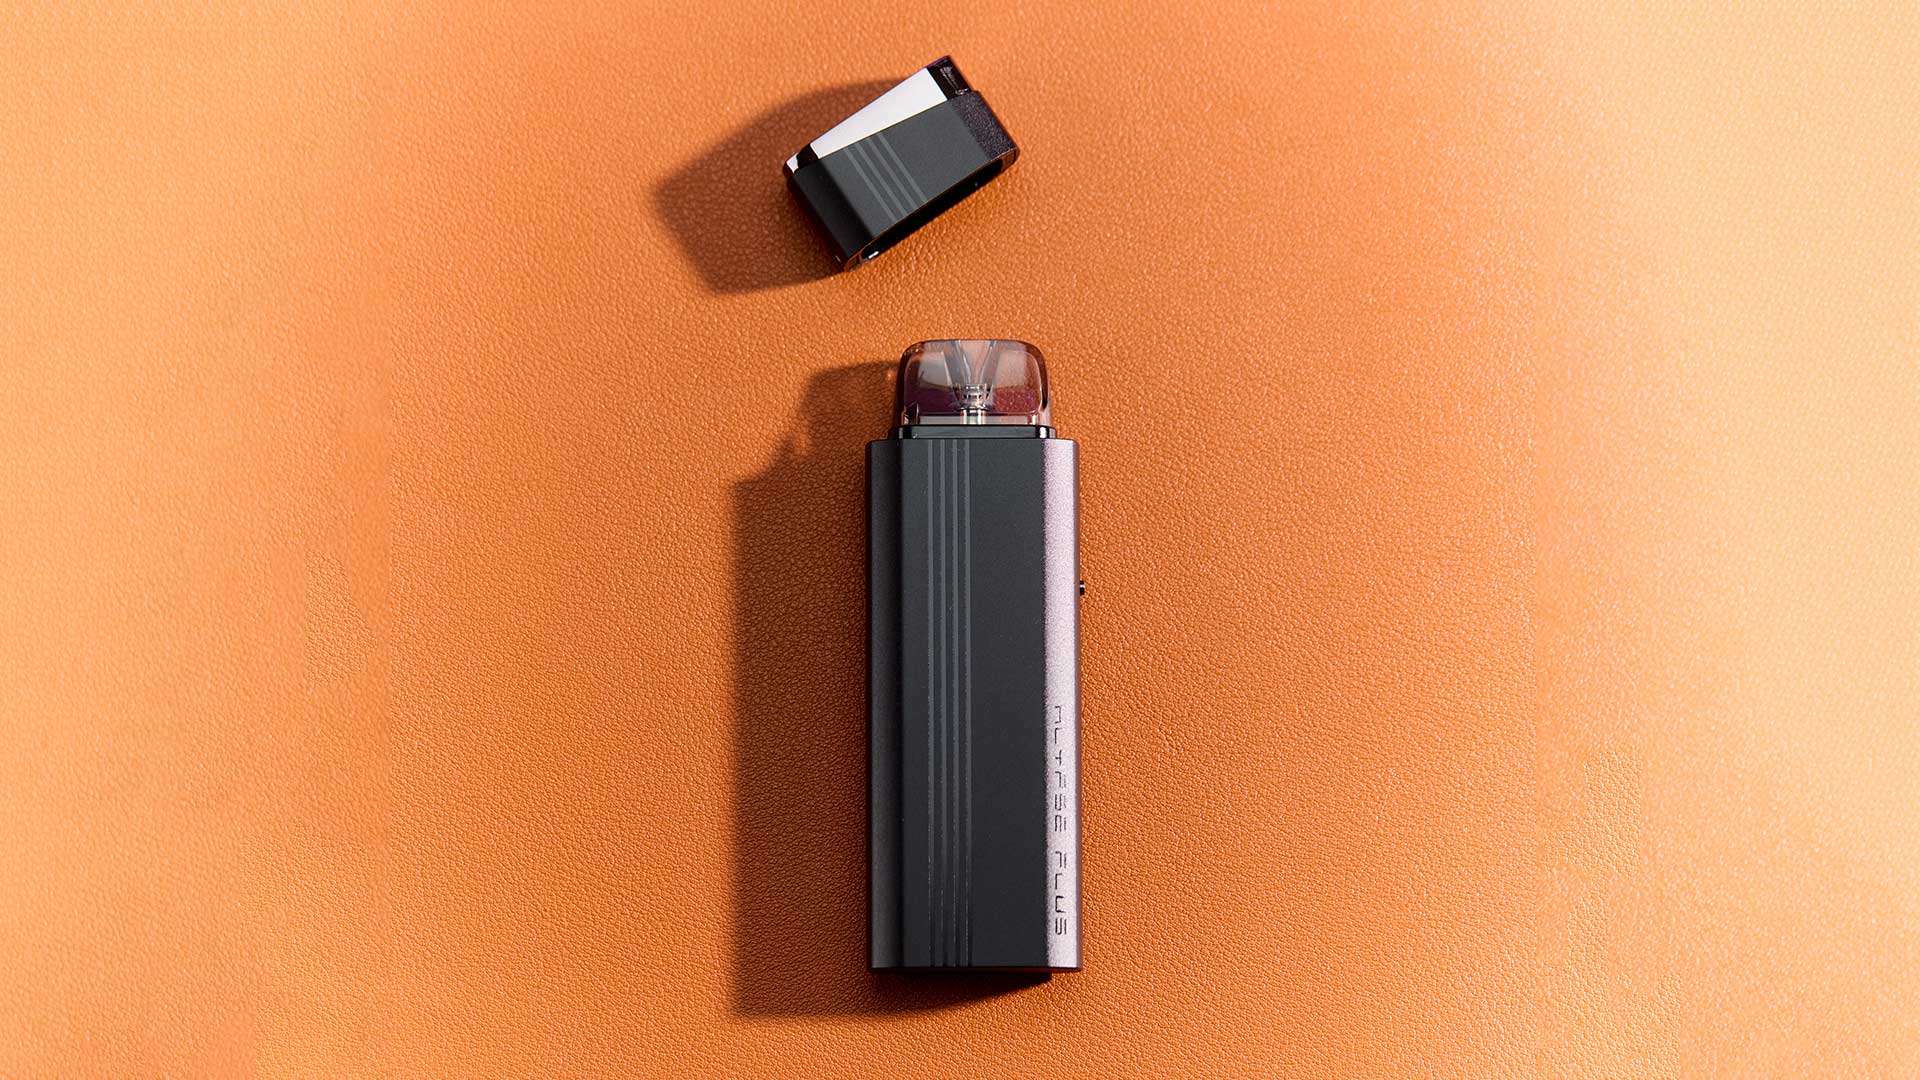
We’ll continue this article with instructions on how to change a vape coil in a pod system. Regardless of the specific device you use, the steps required to replace the coil in any pod system are broadly the same. In this article, we’ll use the Innokin EQ FLTR as an example.
- When the pod is empty, remove it from the device and hold it upside down.
- Twist the pod’s base to loosen and remove it. Note that in some cases, this step isn’t necessary because the coil is inserted directly into the bottom of the pod. If you see the base of the coil when removing the pod from the device, the pod doesn’t have a twist-off base.
- Pull the old coil out of the pod.
- Push a new coil into the pod.
- Replace the pod’s base and refill the pod.
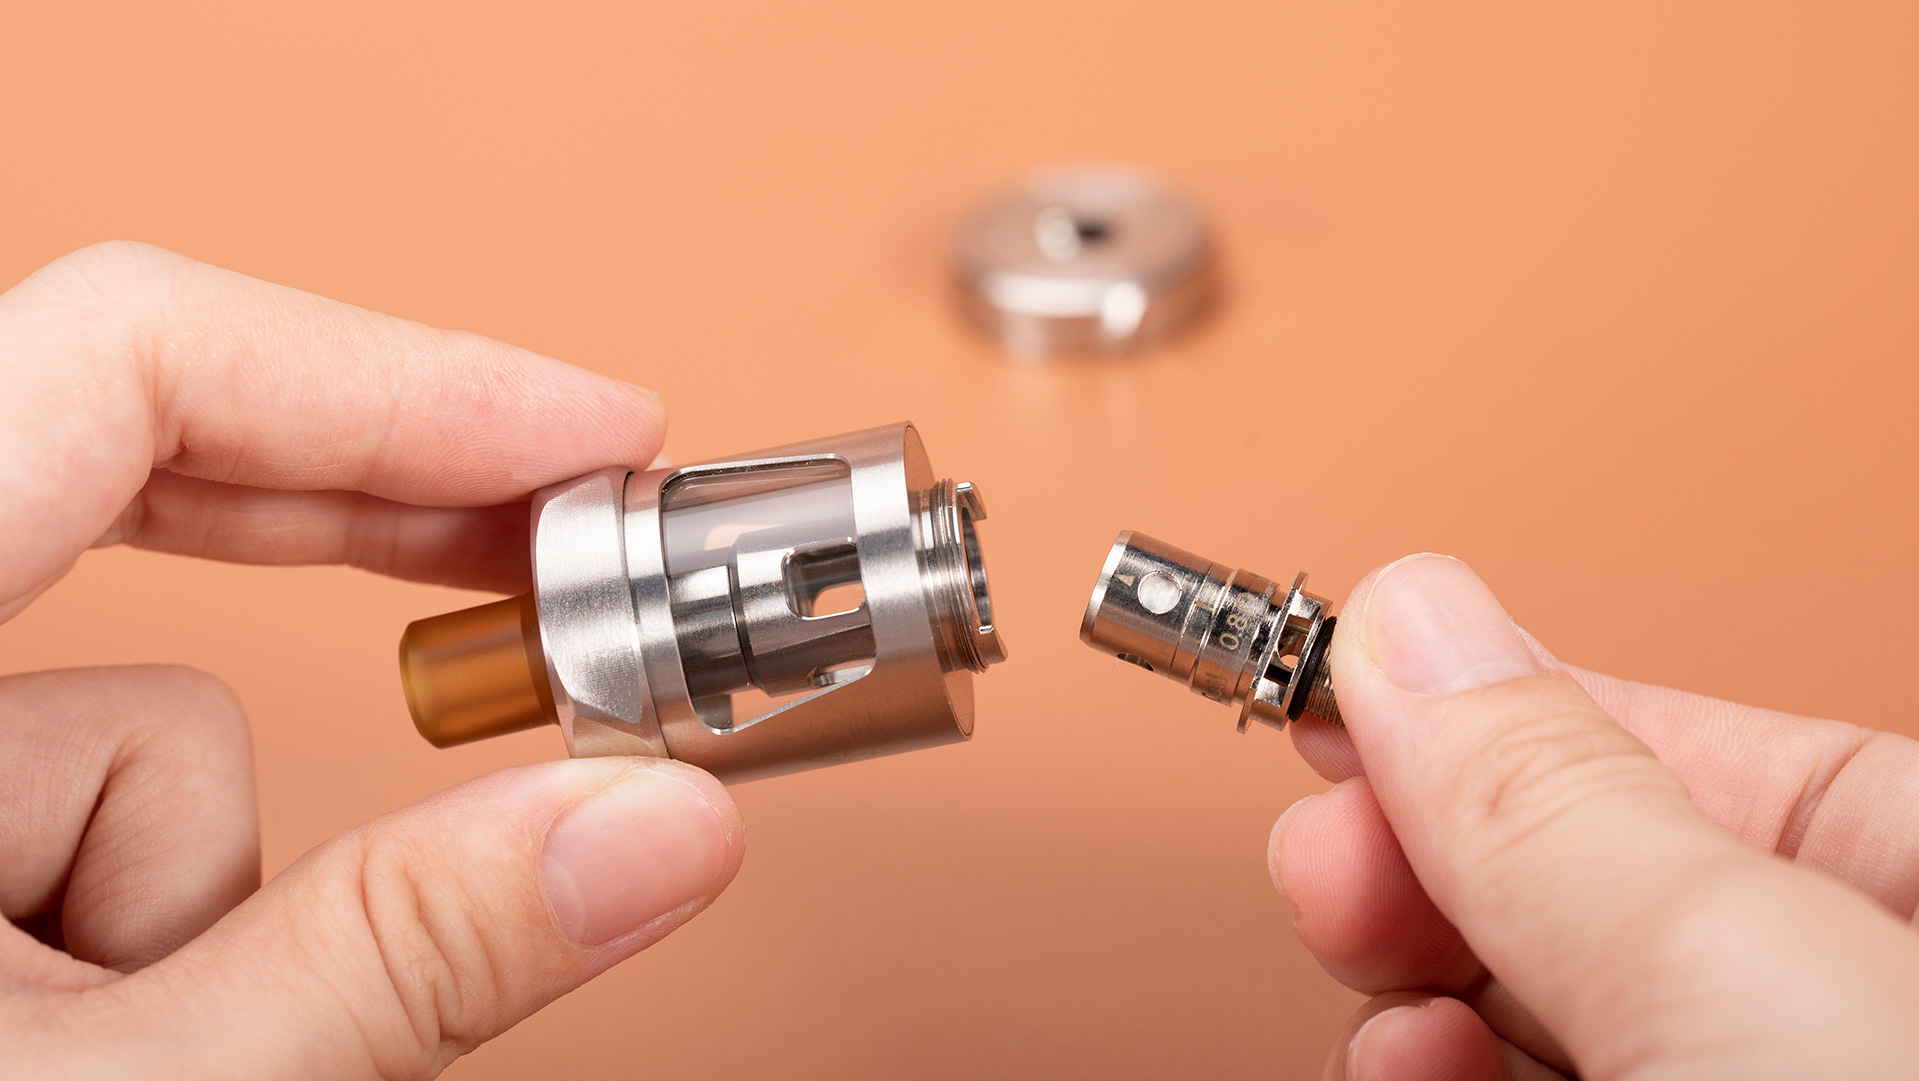
How to Change a Coil in a Vape Tank
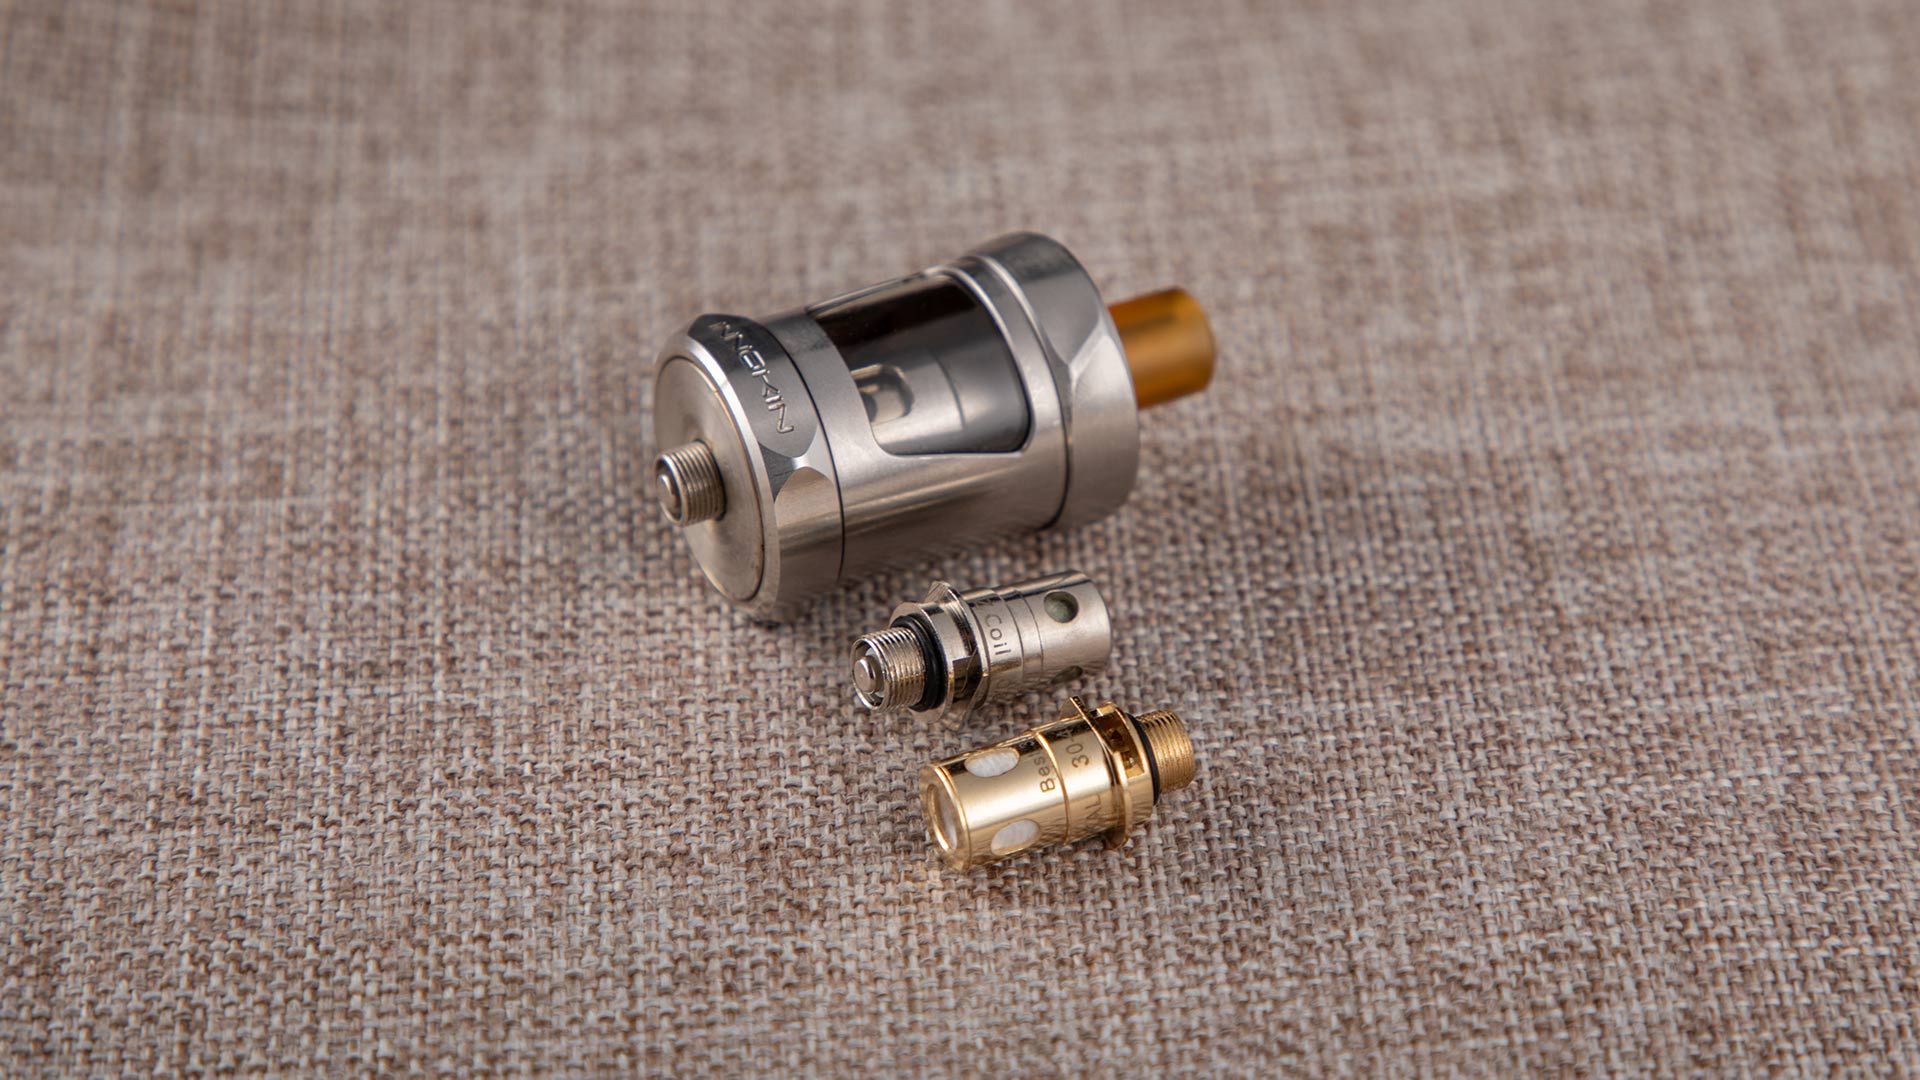
Vape tanks are just a bit more complex than vape pods, and that’s one reason why pod systems are so popular among new vapers who’d rather keep things as simple as possible. If you’re upgrading from a pod system to a full vape tank, though, you’ll find the procedure for coil replacement broadly familiar. In this article, we’ll use the Innokin Zenith II as an example.
- When the tank is empty, remove it from the vape mod and hold it upside down.
- Twist the tank’s bottom hardware to loosen and remove it. The Innokin Zenith II uses a simple push-pull coil replacement system that’s much the same as with most pod systems. If your tank uses the push-pull system, you’ll see the coil inside the main body of the tank. In other tanks, the coil may be screwed into the tank’s base.
- If the tank uses the push-pull coil replacement system, pull the coil out of the main body of the tank. If the coil is screwed into the tank’s base, twist it out of the base.
- Install a new coil by pushing it into the main body of the tank (push-pull system) or by screwing it into the tank’s base (screw-in system).
- Reassemble and refill the tank.
5 Tips for Changing Any Vape Coil Properly
Regardless of what type of vaping device you use, there are a few universal tips that can help you enjoy top-quality flavor for as long as possible. Always prime your coils before installing them. Give a new coil plenty of time to become fully saturated with e-liquid before you begin using it. Set your vaping device to a low wattage and increase it slowly once you’re certain the coil is fully broken in.
In the two sections above, we provided general instructions for changing your vape coil with the two most popular types of vaping devices – pod systems and vape tanks. As you gain vaping experience, though, you’ll quickly learn that the basic instructions for changing a vape coil aren’t nearly as important as learning how to replace coils properly for the best possible flavor and coil life. Use these five vape coil replacement tips to ensure that you’ll have the best experience with your tank or pod system every time.
- Always replace the coil when your tank or pod is empty. Opening a tank or pod breaks its internal seal and will cause any e-liquid in the reservoir to spill out.
- To maintain flavor quality, it’s a good idea to rinse and dry your tank or pod every time you replace the coil. Rinsing removes old e-liquid that can cause flavor contamination. It also helps to remove dust and lint, which can block airflow.
- Always prime a new vape coil before installing it by putting a little e-liquid on the coil’s top and side wick openings. Priming the coil helps to ensure that the wick will be completely wet when you start vaping, and that helps to prevent the wick from burning.
- After replacing the coil and filling the tank or pod, let it rest for several minutes to give the e-liquid time to penetrate the wick fully.
- If your vaping device has adjustable wattage, lower the power level before using a new coil for the first time. Give the coil a bit of time to break in before ramping up the wattage slowly.