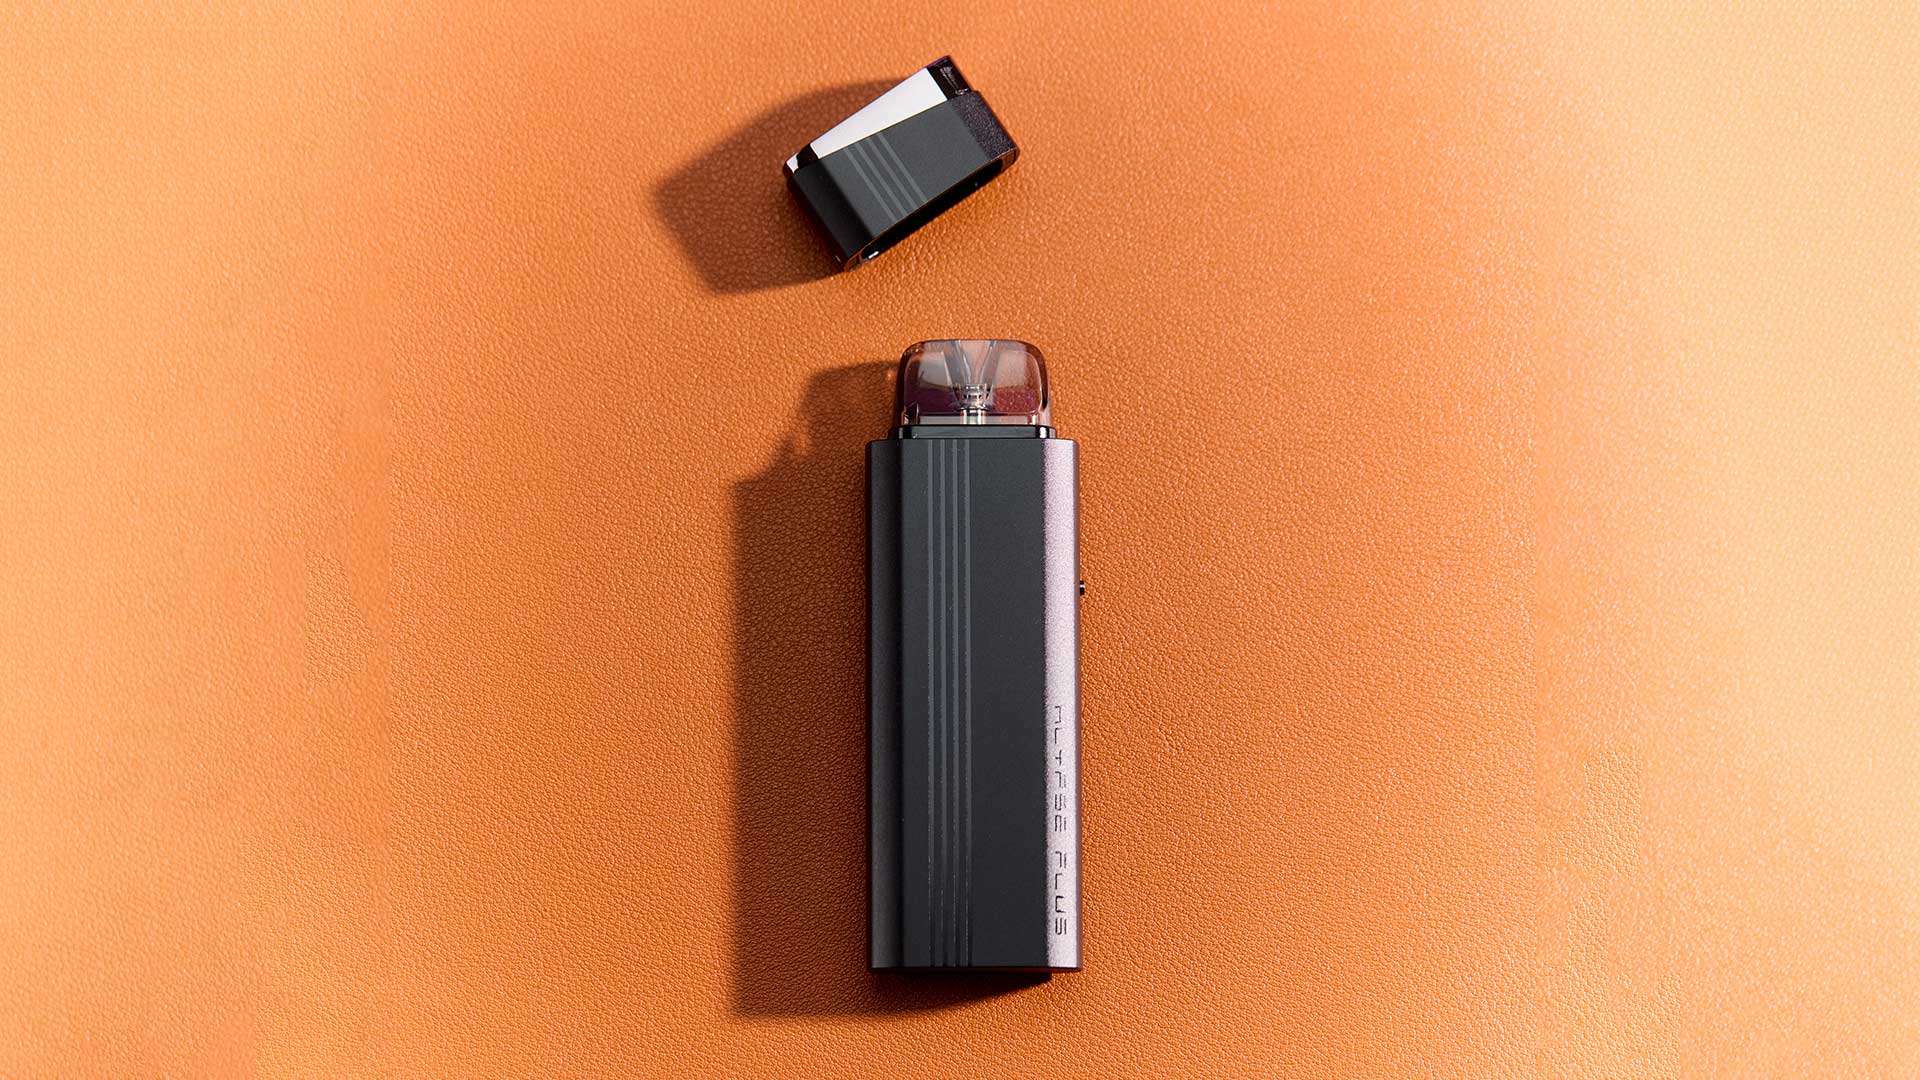
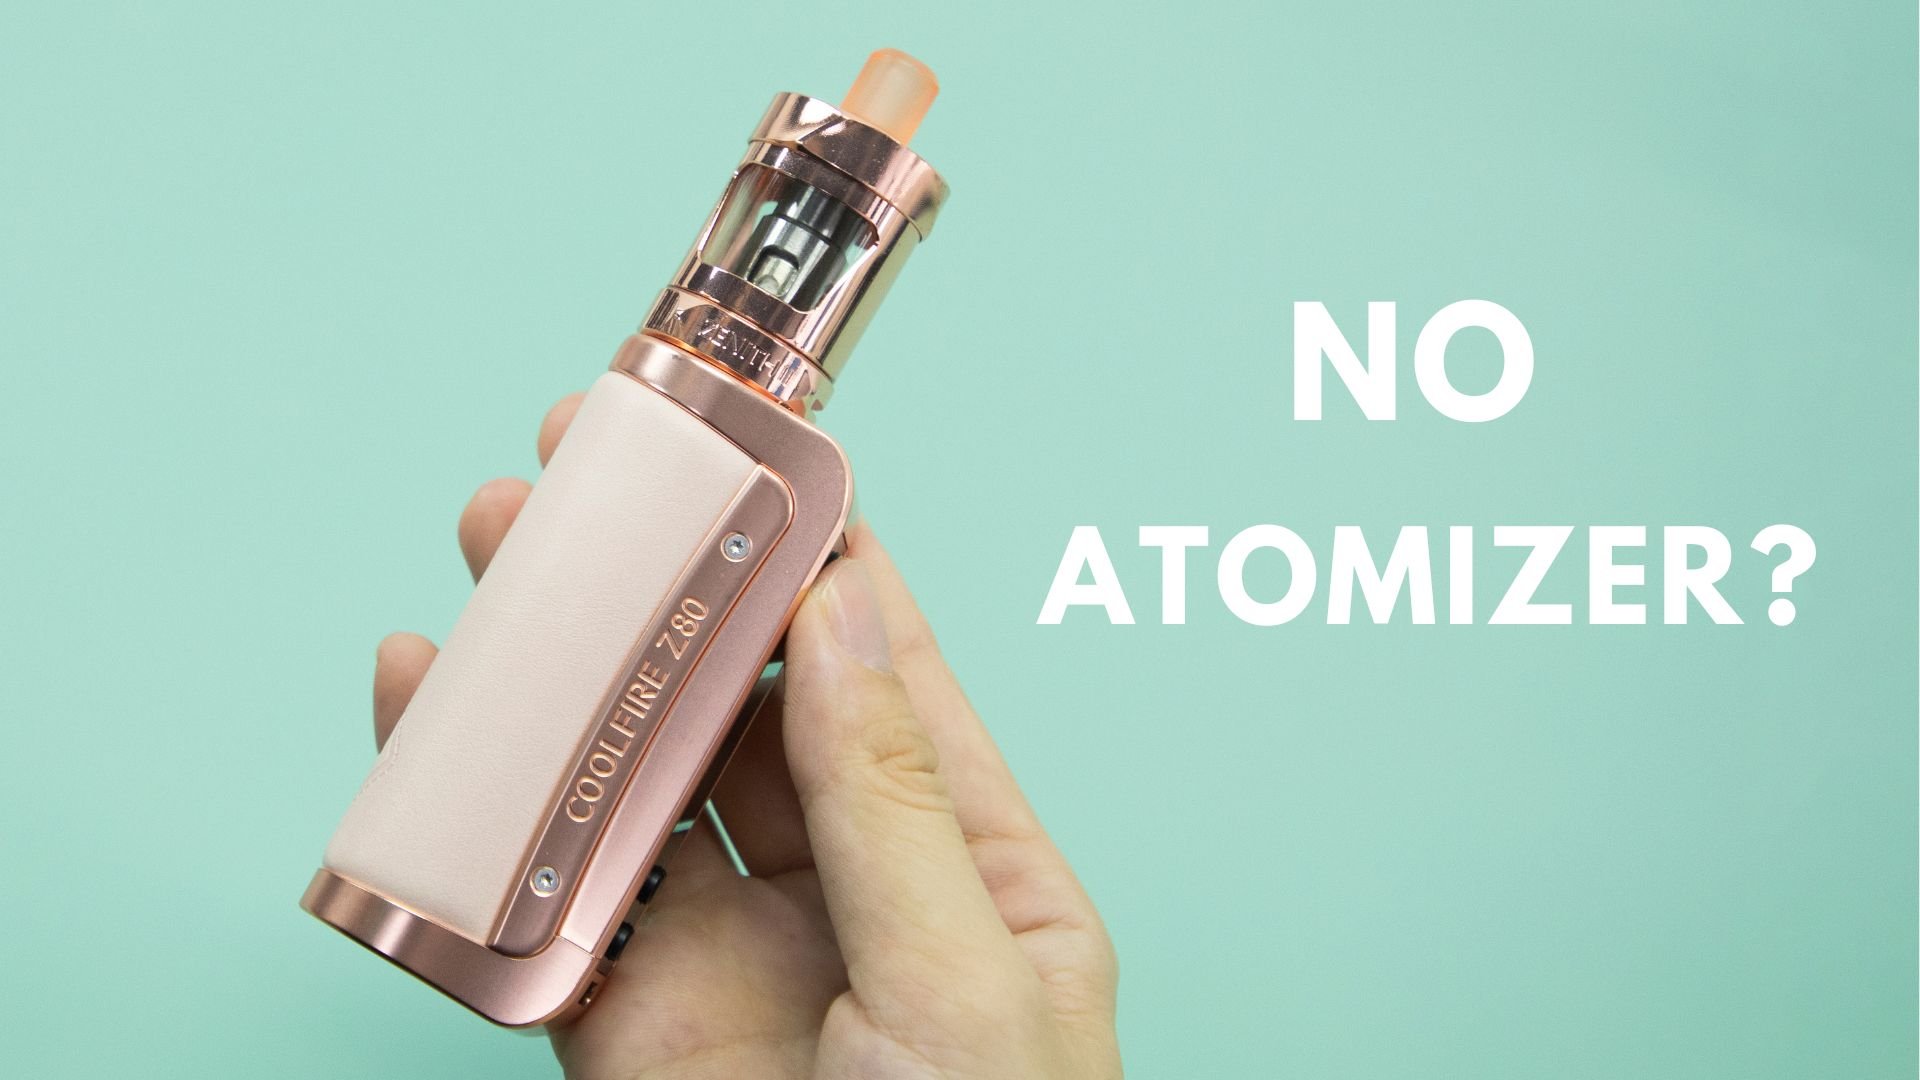
One of the benefits of using a vape mod or a pod mod is that your device has a screen and can communicate with you by displaying an error message when something goes wrong. So, what does it mean when your vape says “No Atomizer?”
When your vape says “Check Atomizer” or “No Atomizer,” it means that the device can’t read the resistance of the installed coil. If your vape can’t detect the coil – or the coil’s resistance doesn’t fall within the expected range – your vape can’t operate safely and will display an error message.
Fixing this error requires a process of elimination. Once you’ve isolated the cause of the error message, fixing it should be relatively simple. Here’s how to do it.
Fixing a “No Atomizer” Error: Overview
Let’s begin with a brief overview of the steps you’ll need to perform to fix a “No Atomizer” error.
- Replace your device’s tank or pod if possible. If this fixes the error, you know that the problem has something to do with the tank or pod that you were trying to use. If not, something is wrong with the device.
- If replacing the tank or pod doesn’t resolve the issue:
- Charge your device’s battery.
- Clean your device’s metal contact points.
- Check for a leak and dry your device thoroughly.
- If you’re using a pod system and replacing the pod resolves the issue:
- Clean the contacts on the bottom of the pod.
- If the pod has a replaceable coil, confirm that the coil is pushed all the way in.
- Replace the pod or coil.
- If you’re using a tank and replacing the tank resolves the issue:
- Clean the metal pin on the bottom of the tank.
- Remove the coil and check for e-liquid under it. Dry the tank’s base thoroughly.
- Reinstall the coil, making sure that it is screwed all the way down.
- Disassemble and reassemble the tank, making sure that the components aren’t cross-threaded.
- Adjust the tank’s pin, making sure that it extends from the center of the threading.
- Replace the coil.
Let’s examine these troubleshooting steps in more detail and find out why they work.
Finding the Cause of the “No Atomizer” Error
If your vape mod or pod mod displays the message “No Atomizer” or “Check Atomizer,” the first thing that you should do is isolate the cause of the issue if you can by trying a different tank or pod. If your vape works, you know that the original tank or pod must be the cause of the problem. If your vape still displays the error, the problem must be the device itself. Scroll down to the appropriate section below to learn what you should do.
Fixing a “No Atomizer” Error if the Device Has a Problem
If your vape displays a “No Atomizer” error with any tank or pod, you know that the device is the cause of the problem. Start by charging the battery. Although it’s not common for a vape to display a “No Atomizer” error if it has low power, a device can have all sorts of unexplainable problems when the battery is nearly dead. If that doesn’t resolve the issue, read on for some more intensive troubleshooting advice.
Clean Your Vape’s Threading or Pod Chamber
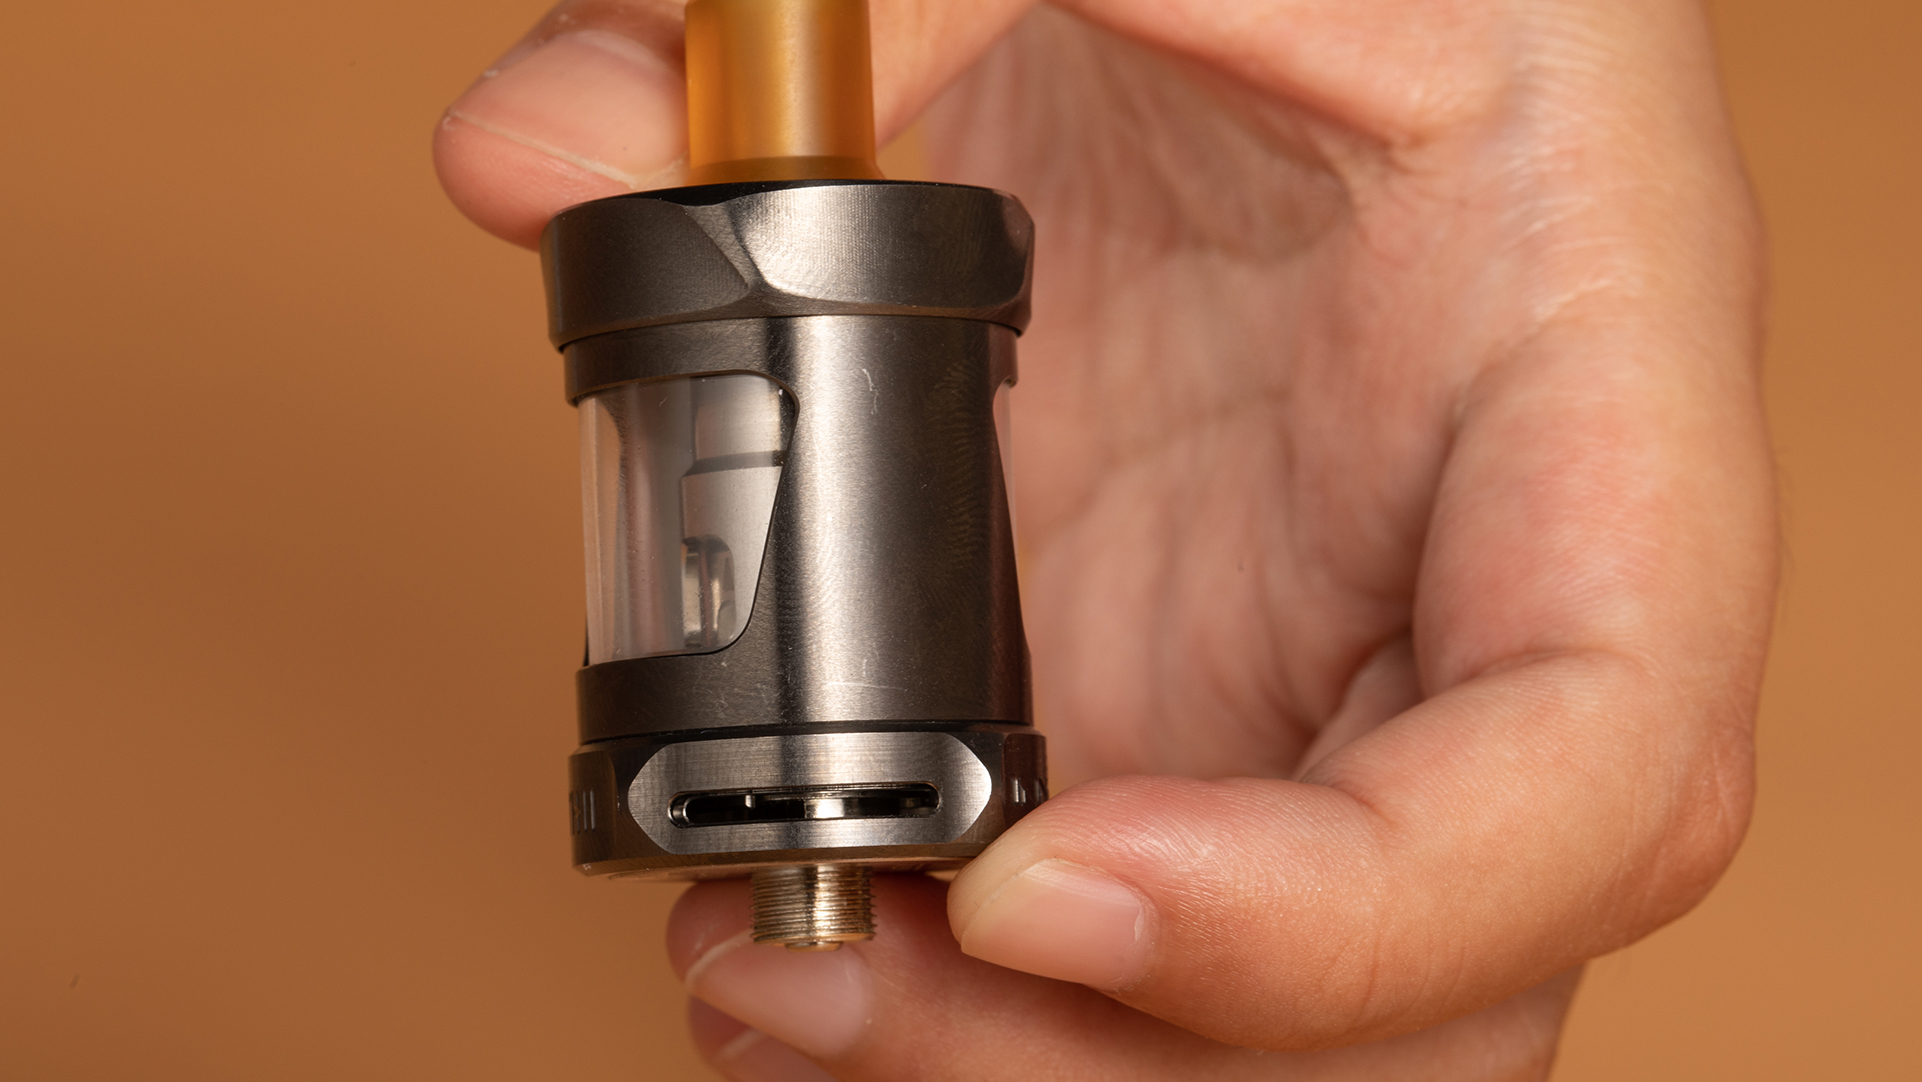
Oxidation can form on a vape’s contact points, potentially hampering its ability to detect the coil. You should also make sure that the contact point(s) on the bottom of the tank or pod are clean and dry.
If your vape can’t detect the coil in any connected tank or pod, the most likely culprit is dirt, dust or e-liquid residue on the metal contact point at the top of the device. The contact point is a gold-plated or copper pin or plate that’s inside the device’s chamber if you’re using a pod system or in the center of the threading if you’re using a vape mod. You can clean your device with a cotton swab. If the contact point is severely dirty, you can moisten the cotton swab with a small amount of rubbing alcohol to remove any contaminants.
Check for a Leak if You’re Using a Pod System
Leaked e-liquid can block a vape’s metal contact points and can potentially prevent the vape from working correctly.
If you’re using a pod system with a removable coil, it’s possible for the pod to leak if the coil is installed incorrectly because with most pod-based devices, you install the coil by pushing it through an opening in the bottom of the pod. E-liquid will leak through the opening if the coil isn’t installed correctly. We’ll provide more information about troubleshooting that issue below – but in the meantime, if you remove the pod from your device and find e-liquid under it, you need to do something about the leak because the e-liquid could enter your device and cause damage. Here’s what you should do.
- Use a paper towel to remove all of the vape juice that you can see. Try using your vape again. If it works, make sure that you install your coils properly in the future to avoid leaks.
- If your vape still displays the “No Atomizer” error, try blowing through the air intake hole while holding a paper towel over the device’s pod chamber. If you see e-liquid in the chamber – or the paper towel is wet – vape juice has gotten inside your device. Dry the chamber and blow through the device again. Repeat this process until no more vape juice comes out. Try using your vape again.
- If your vape still displays the “No Atomizer” error, it’s possible that the device has an internal short circuit from the leaked e-liquid. In this case, you can try using desiccant packets – the same packets included with many medications and electronic devices – to remove the moisture from inside your vape. Place your vape in a plastic bag with the desiccant packets for a day or two and see if that resolves the issue. If your device still displays the “No Atomizer” message with every tank or pod, it’s possible that the leak has caused permanent damage and that you need to replace the device.

Fixing a “No Atomizer Error” if the Tank or Pod Has a Problem
If you tried connecting a new tank or pod to your vape – and your device stopped displaying the “No Atomizer” error – you’re in luck because tanks and pods are much easier to troubleshoot than vape mods. Here’s what you need to do with the tank or pod that isn’t working.
Clean the Tank or Pod
The first thing that you should do with a tank or pod that’s causing a “No Atomizer” error is clean the threading or metal contact point on the bottom. You can do this with a cotton swab in the same way as described above. If the metal is badly stained or tarnished, moisten the cotton swab with a small amount of rubbing alcohol to aid with the stain removal.
Confirm that the Coil is Installed Properly
Your vape may display a “No Atomizer” error if the coil is screwed or pushed all the way into the base of the pod or tank.
If your tank or pod still isn’t working after you’ve cleaned it, you should confirm that the coil is installed properly.
- If you’re using a tank, make sure that the coil is screwed all the way in and that it isn’t cross-threaded. Note that with some tanks, you need to screw the coil in very tightly in order for it to work.
- If you’re using a pod system, make sure that the coil is aligned properly. In many cases, the base of the coil will have a flat edge that needs to align with a flat edge on the underside of the pod. If the coil isn’t properly aligned, it’ll stick out slightly from the bottom of the pod.
Confirm that the Tank is Assembled Properly
If a vape tank’s components are misaligned, your vape may not be able to detect the installed coil.
If you’re using a vape tank and have confirmed that the coil is screwed all the way – and your device is still displaying the “No Atomizer” error – the next thing that you should do is disassemble the tank and reassemble it carefully, making sure that none of the components are cross-threaded. With some tank designs, the tank’s chimney goes into the coil head in order to create a tight seal. If the tank’s components are misaligned, the chimney may create a short circuit by touching the coil’s heating element.
Check the Tank’s Base for E-Liquid
You may see a “No Atomizer” error on your vape if e-liquid is pooled in the tank’s base.
If your tank still doesn’t work after you’ve confirmed that it’s assembled correctly, you should remove the coil and see if the tank’s base is contaminated with e-liquid or other debris. If it is, clean it with a cotton swab to ensure that the tank’s base can make a solid connection with the pin or plate at the base of the tank.
Adjust the Tank’s Center Pin
Some vape tanks have adjustable pins. The pin should extend from the threading enough to touch the contact point in the middle of your vape mod’s threading.
One of the common design elements of older vape tanks is that they often have adjustable center pins. To determine whether your tank has this feature, look at the pin in the middle of the tank’s threading. If it has an indentation for a screwdriver, you can insert a screwdriver and twist the pin to extend it. Extend the pin very slightly and try using the tank again.
If your tank doesn’t have an adjustable pin, look at the tank’s threading from the side and confirm that the pin protrudes slightly from the tank’s threading. If the pin doesn’t protrude, try using a pair of pliers to pull it out slightly.
Replace the Coil
If nothing else fixes the issue, you may have a damaged pod or coil and should replace it.
If you’ve tried everything else in this article and know that your tank or pod is the cause of the “No Atomizer” error but haven’t been able to get your device working, the installed coil is probably damaged or faulty. You should try installing a new coil at this point. If it works, you can discard the old coil because there’s no way to fix it.
Is your tank still not working even though you’ve installed a new coil? In this case, it’s possible that the tank is permanently misaligned due to damage such as dropping the tank on a hard surface. In this case, it may be necessary to replace the tank.